Creating menus is a WordPress function. You can use the Elementor Nav Menu Widget (Pro) or your theme to display these where needed. Learn more here.
Create Your Menu
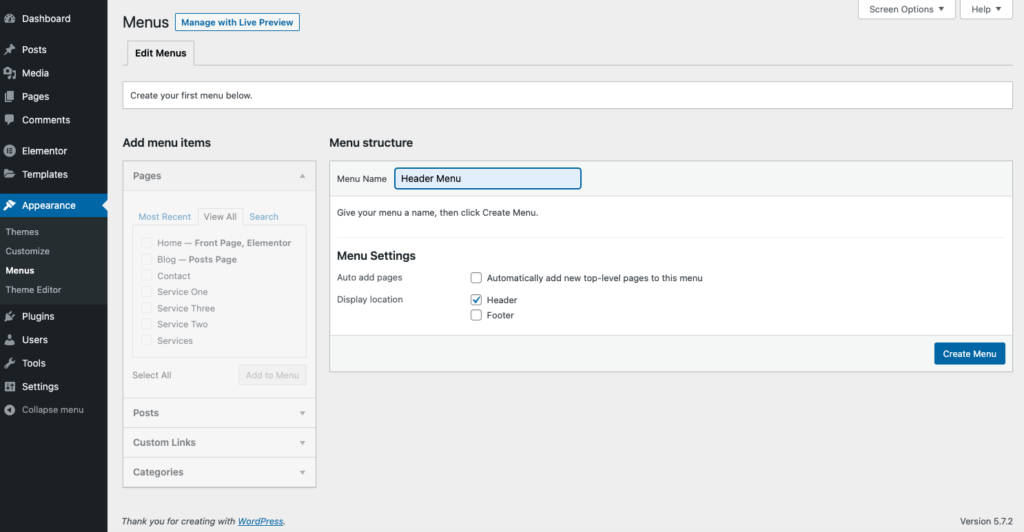
Navigate to Dashboard > Appearance > Menus. If you have not created a menu, you will need to do so now. Give your menu a name and click the Create Menu Button. You may additionally assign the option to add newly created pages automatically and the display locations.
Adding Pages To The Menu
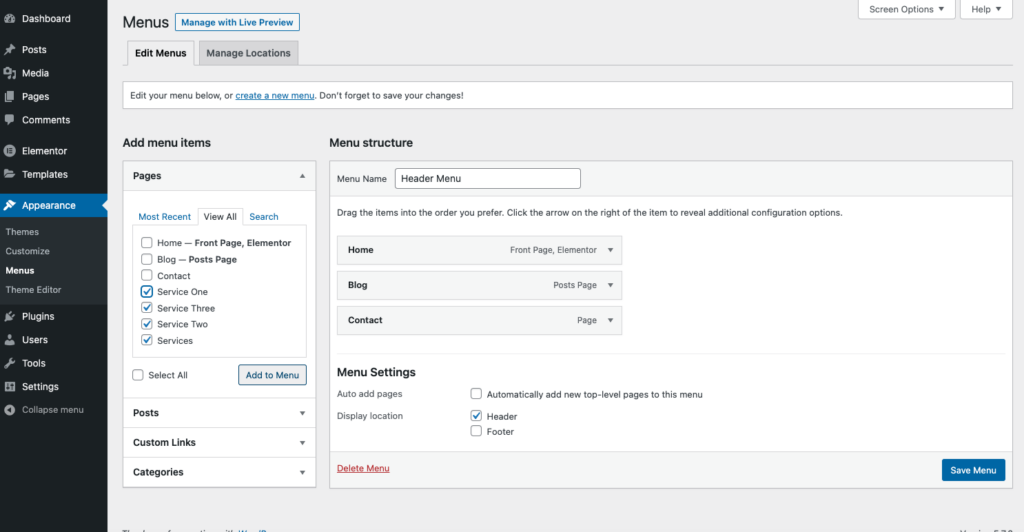
From the add menu items panel select the pages you wish to insert and click the Add to Menu button.
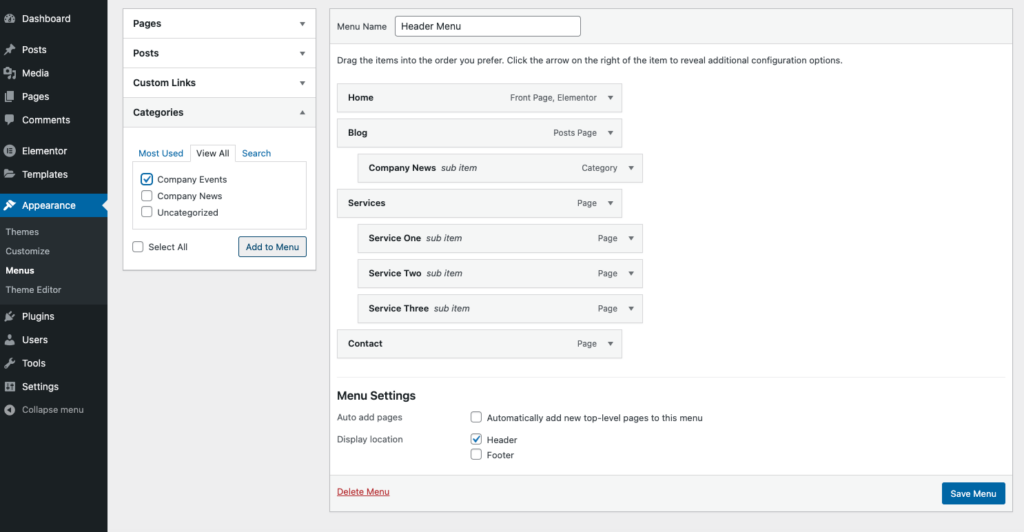
Creating Submenus
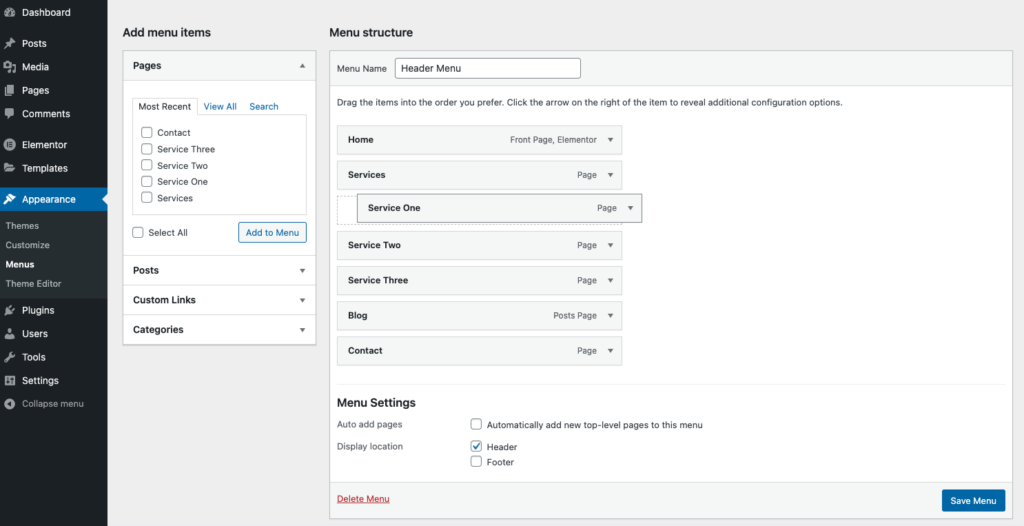
- Add your items to the menu
- Drag and drop an item so that it is placed under the parent item slightly indented
- Repeat this process for the other child items

- Save your menu
Adding Custom Links To The Menu
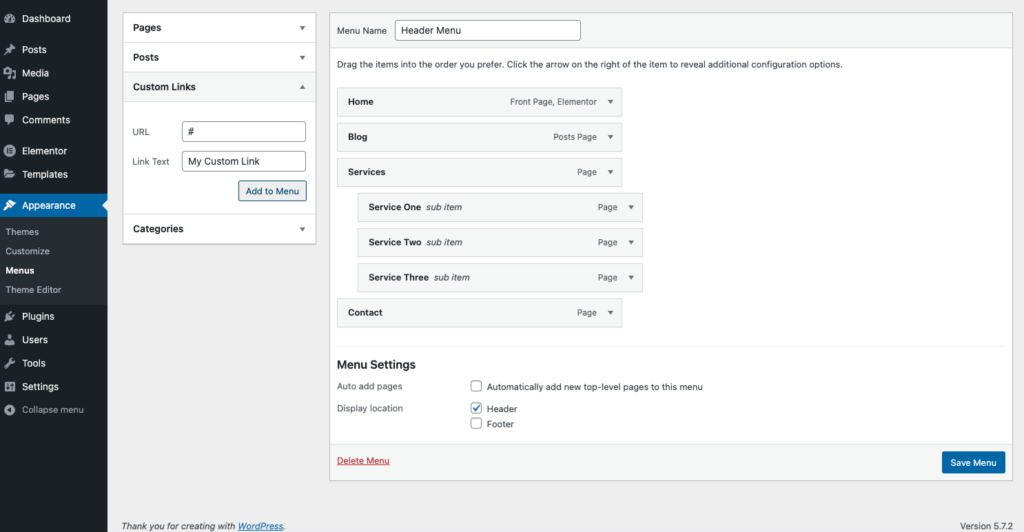
You may add external URLs, anchor links, and placeholder links by using the Custom Links option.
Adding Blog Categories To Your Menu
You may assign blog archive categories from the Categories. For more about WordPress categories, click here.
View Your Menu
From the Dashboard, you can now view your menu by clicking the Visit Site link
