First, be prepared to upload images that reflect each project expertise, as well as a profile picture and a cover image. The recommended image sizes are:
- Cover Image: Max file size: 2MB. Ideal image size: 1000x360px
- Profile Picture (logo or headshot): Max file size: 500k. Profile picture will display at 70x70px
- Portfolio Image Files: Max file size 2MB, jpg or png. Required minimum width: 940px
Now, let’s go through the process of signing up and creating your profile.
Note: You must have a Pro Elementor license (Expert or Agency plan), and sign in to the account that holds the license, in order to create an Experts Profile.
Sign In

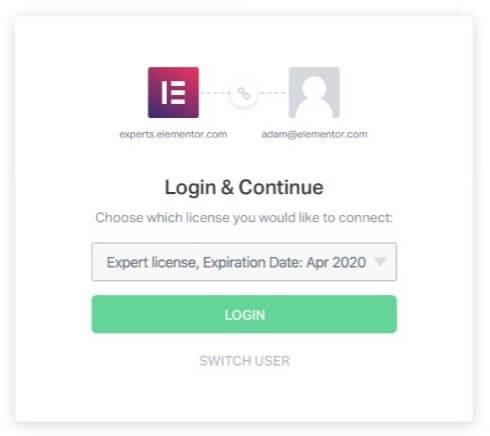
- Go to https://experts.elementor.com and click the Sign In link.
- If you are already signed into your my.elementor.com account, you will see Login & Continue screen. This screen verifies which account is logged in. If this is the correct account, click the Login button. If this is not the correct account, click the Switch User link to change to another account.
- You will be taken to the first step of a 4-step process.
Step One – Welcome
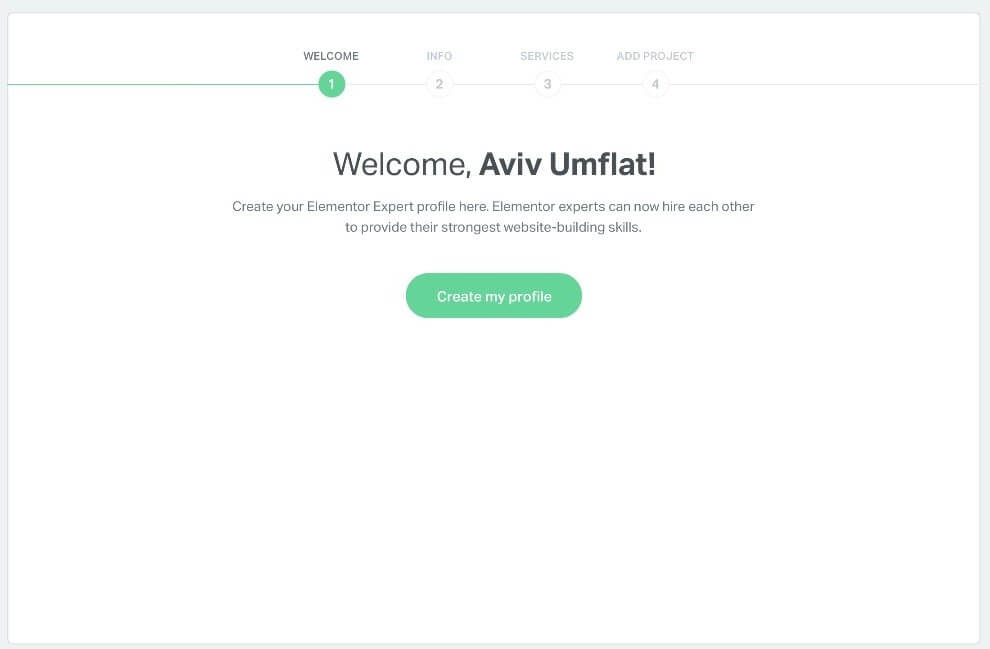
This first step is the Welcome screen. Click the Create my profile button to continue.
Step Two – Info
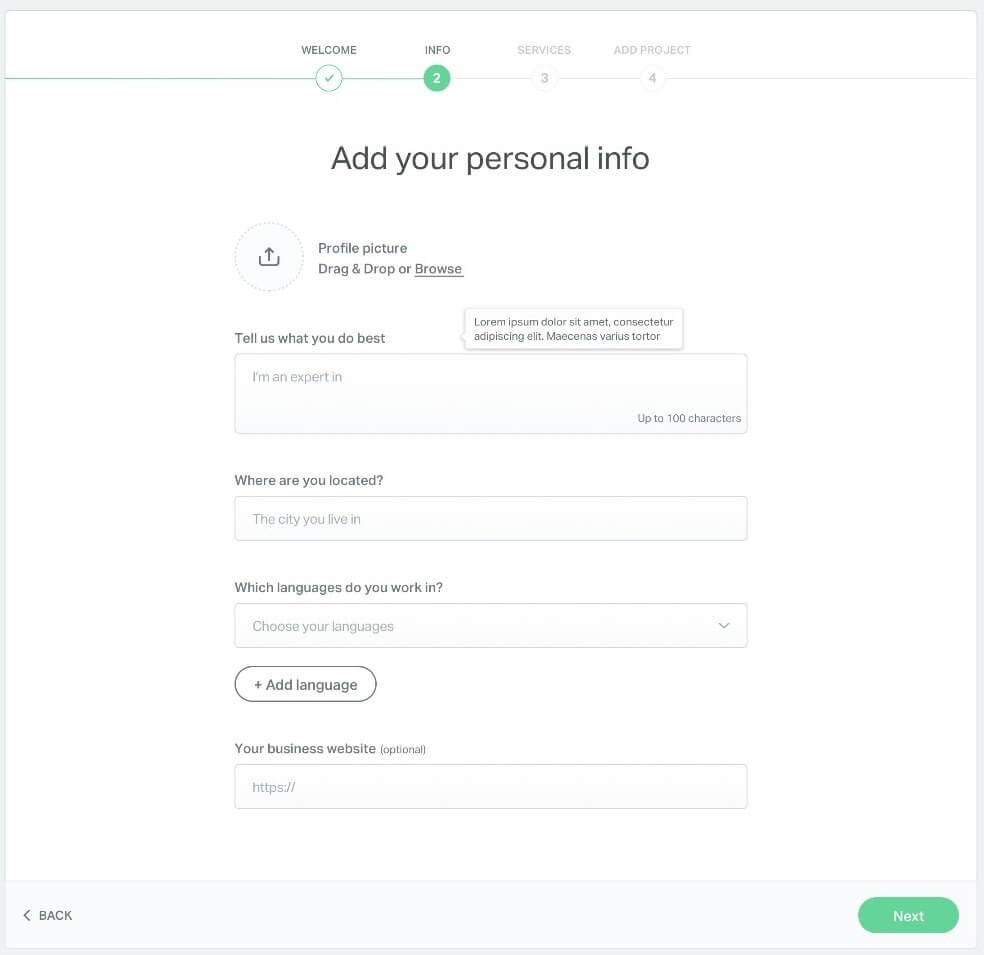
In this step, you will “Tell Us About Yourself”. Fill out the form provided.
- Profile Picture – Drag and drop or browse for a logo or headshot to be used as your profile picture. Once chosen, crop the image by adjusting the slider to control the image’s are to be cropped. Once you are satisfied, click the Save button, or click Cancel to use a different image.
- Tell us what you do best – Enter a short tagline that describes your expertise. Limited to 100 characters.
- Where are you located? – Type your city name and choose the correct location from the dropdown list presented.
- Which languages do you work in? – First, select your primary language from the dropdown list. If you speak multiple languages, such that you are comfortable working in those languages, you may also add them here. Simply click the Add Language button to repeat this process as many times as you wish to add a new language to your portfolio.
- Your business website (optional) – Although this field is not required, you may type your professional website URL address here.
- Social media accounts (optional) – Add your social media accounts to your profile.
- Click Next to continue.
Step Three – Which Services Will You Offer?
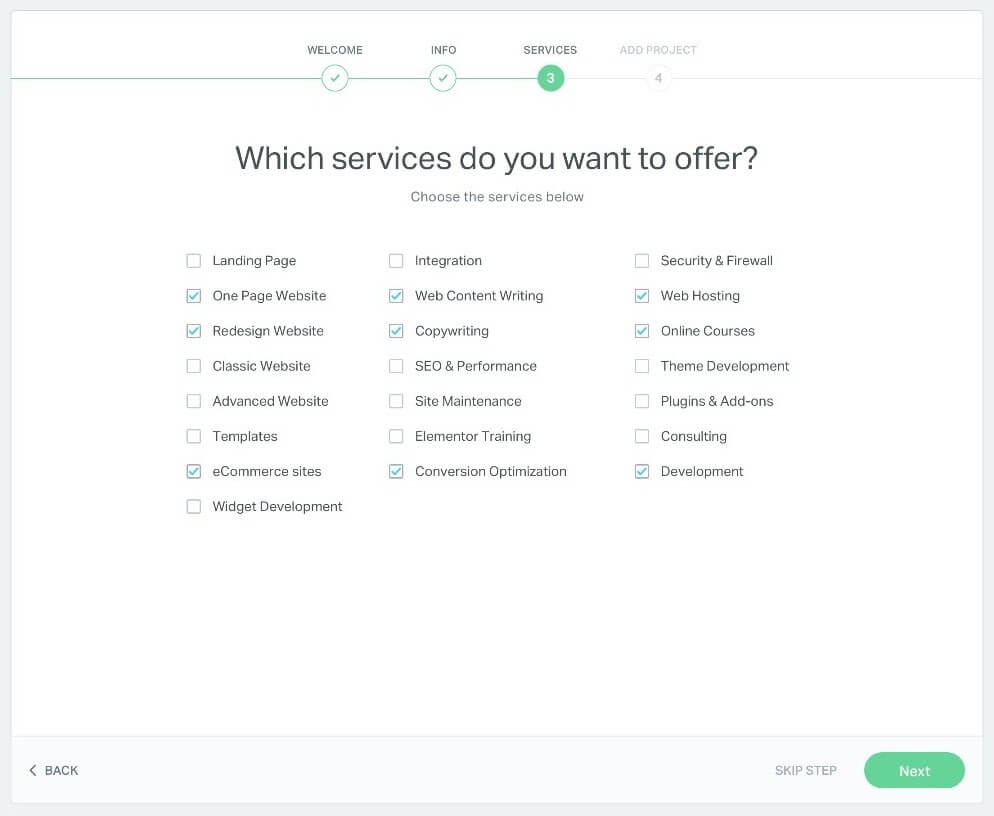
- Place a check mark in each box to narrow down the services you offer. Click the Next button to continue, once you’ve finished your selections.
Step Four – Add A Project To Your Portfolio
This step may be skipped, however, it is important to note that your profile is only published and online once a project has been added to your portfolio. Once you complete the “ Add A Project” steps, your profile is created and published. If you choose to click the Skip & Finish link, however, your profile will remain unpublished and offline.
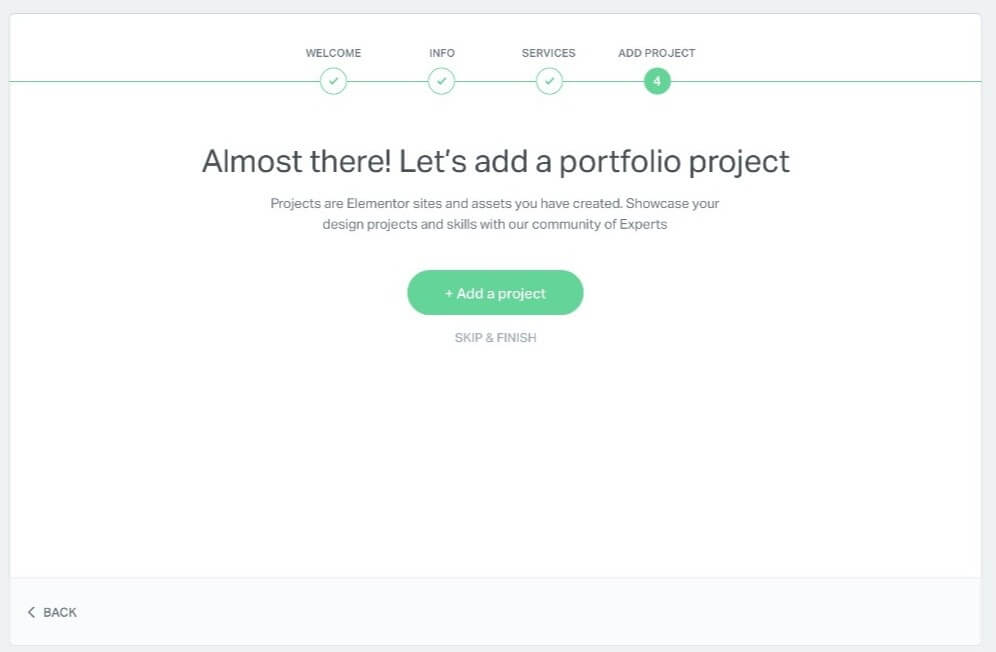
Projects are Elementor sites that you have created. In order for your profile to be visible on the marketplace, your portfolio needs to include at least one project. Upload the projects you’re most proud of and that best represent your skills and talents. Click the Add Project button to continue.
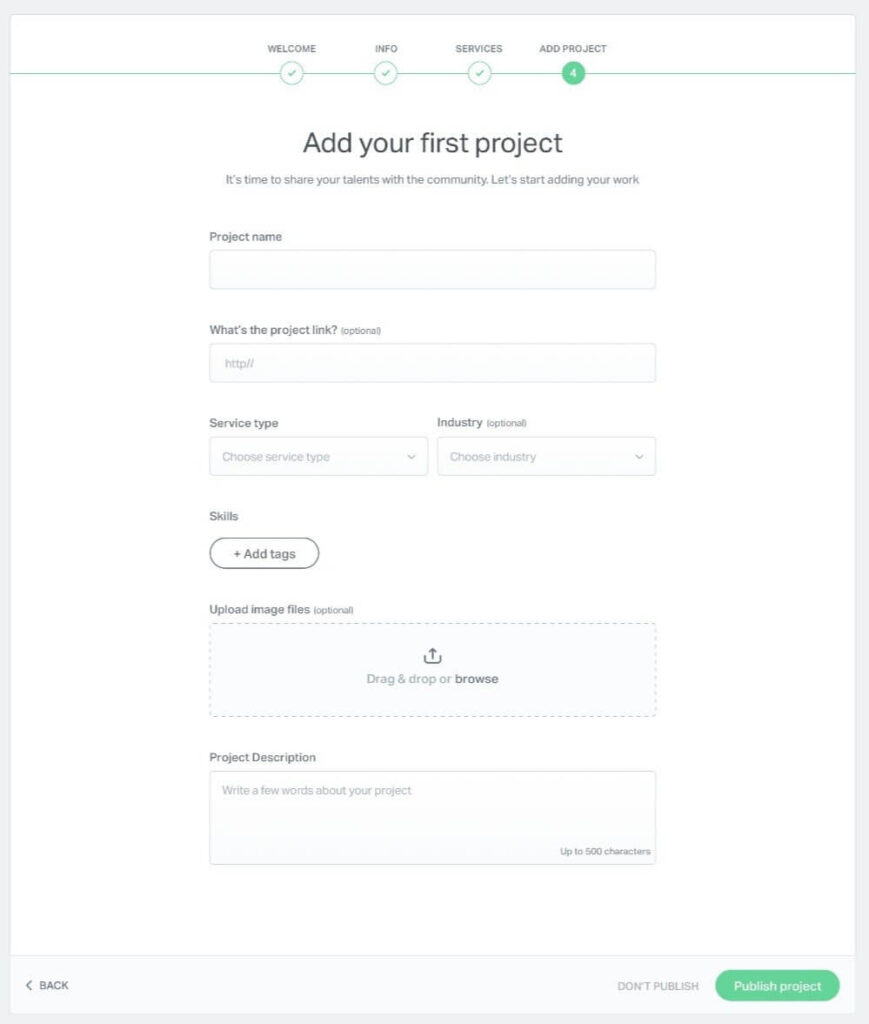
- Project Name: Enter a name for your project.
- What’s the project link? (optional): Enter the URL of the project website.
- Service Type: Select the service type for this project from the dropdown list.
- Industry (optional): Select the industry for this project from the dropdown list.
- Add tags: Add 3 to 6 tags that define your work in this project.
- Upload image files (optional): Drag and drop or browse for images of your website that reflect your skills. You can change the order of the images by dragging and dropping them in any order you choose. You can also crop the images by adjusting the slider to control the image’s are to be cropped. Once you are satisfied, click the Save button, or click Cancel to use different images.
- Describe your project in a few words: (500 word limit) We suggest focusing on the specific skills you used for this project, as well as any interesting aspects of the project.
- Click the Finish button to complete this step.
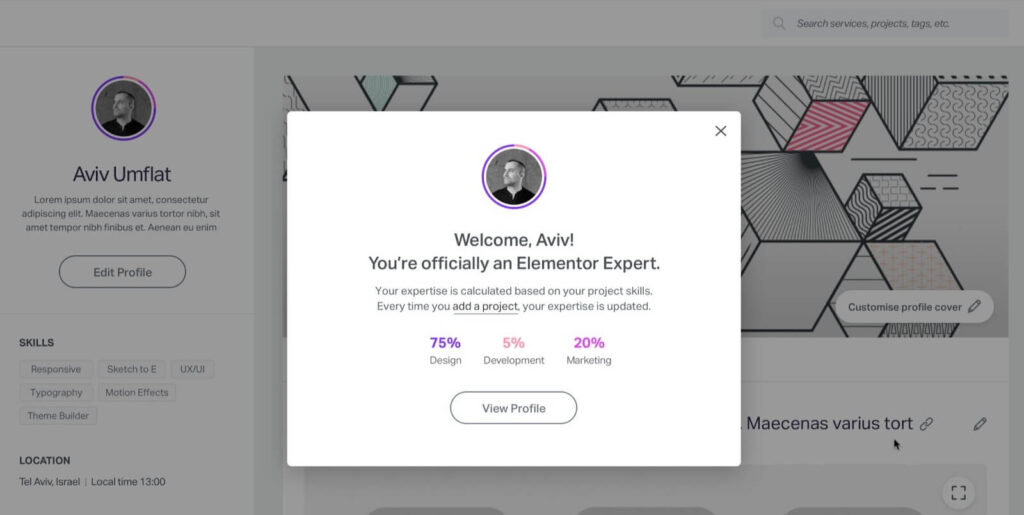
Once you have created your account and set up a project, you will login and be directed to your profile.
User Options
You will now see your profile image and name in the upper right corner of the screen. Click the arrow next to your name in the header to see your user options. Here you can view your profile at any time, go to your dashboard, or log out of the Experts Network.
