Activating and deactivating plugins is often an important part of troubleshooting your site. You may run into situations where a plugin has not been updated and is causing problems on your site or you may need to isolate a problematic plugin.
Activating or deactivating WordPress plugins
To activate or deactivate the plugin you’re using, follow these quick steps:
1. Log into your WordPress site.
2. Go to your WordPress dashboard.
3. Click the Plugins tab located on the left-hand-side menu on your WordPress dashboard.
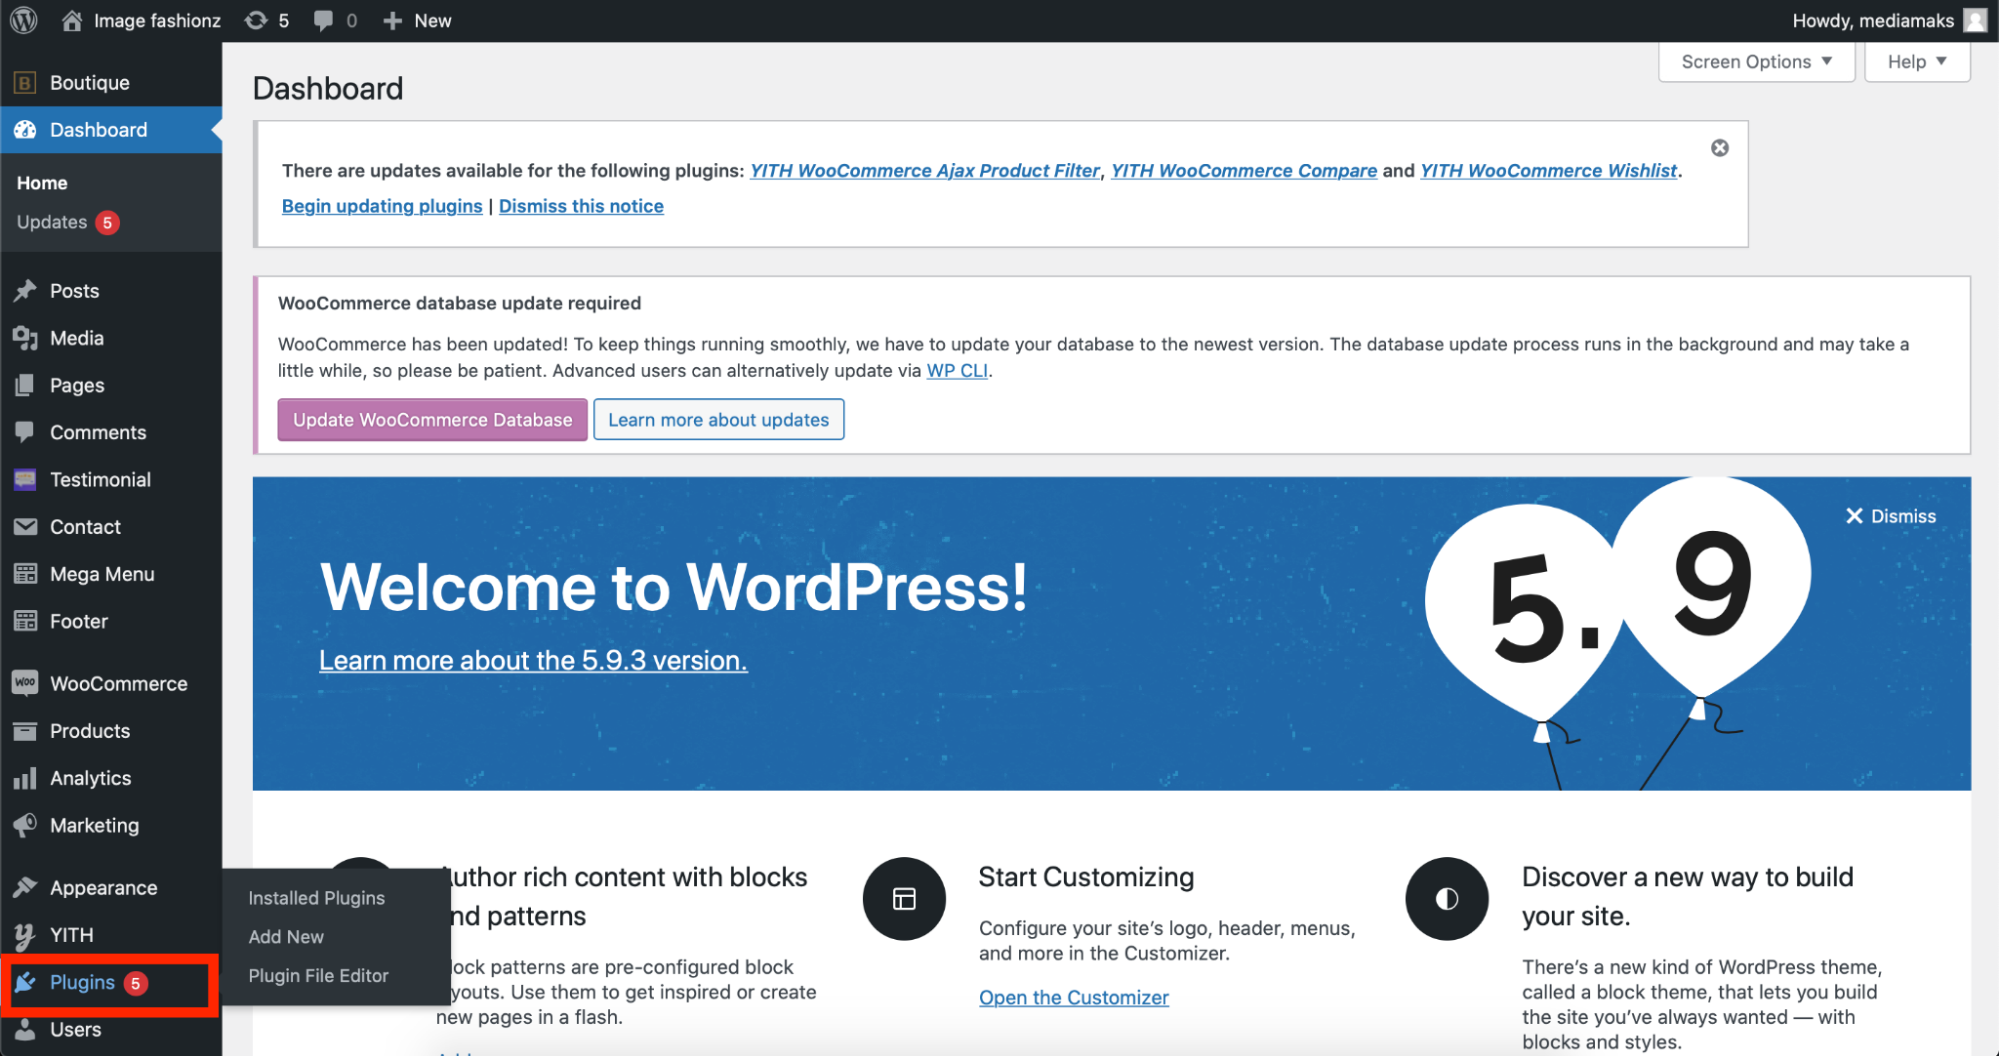
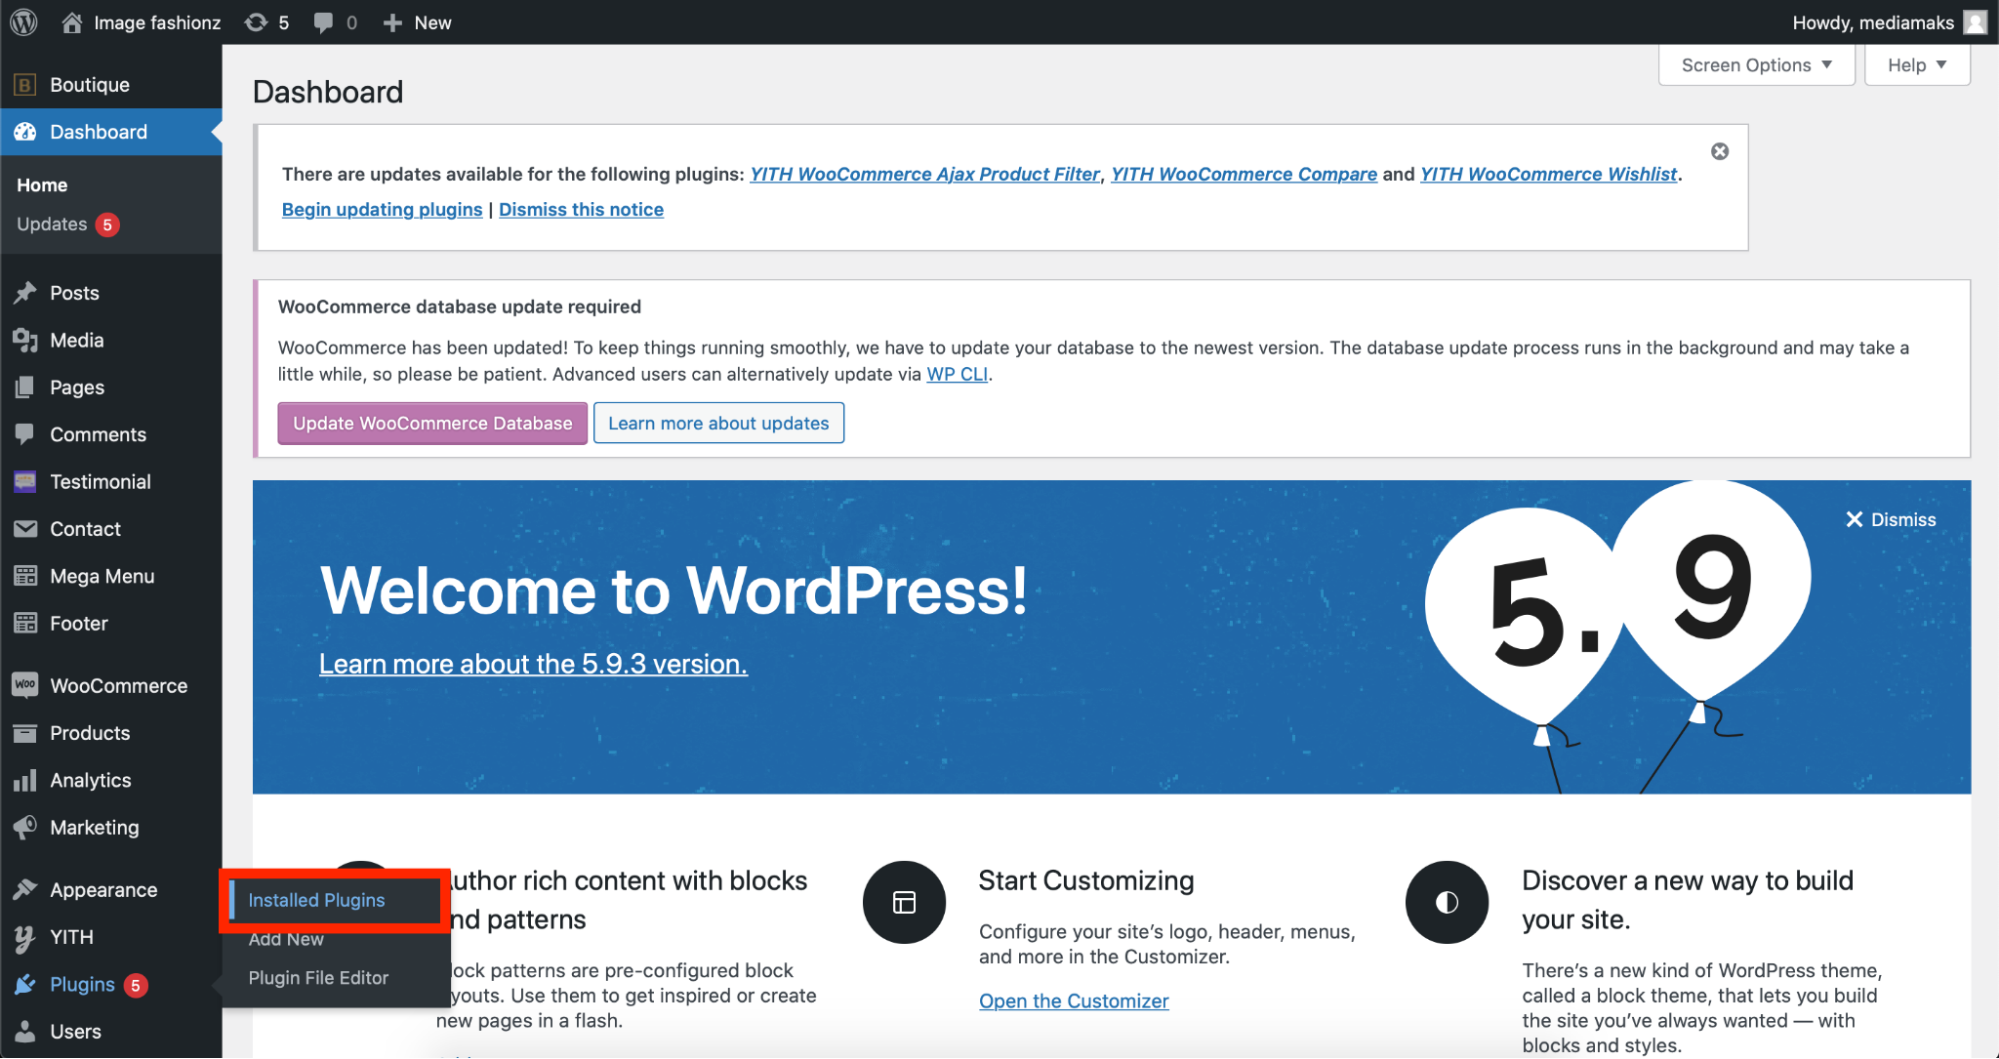
4. Now select Installed Plugins
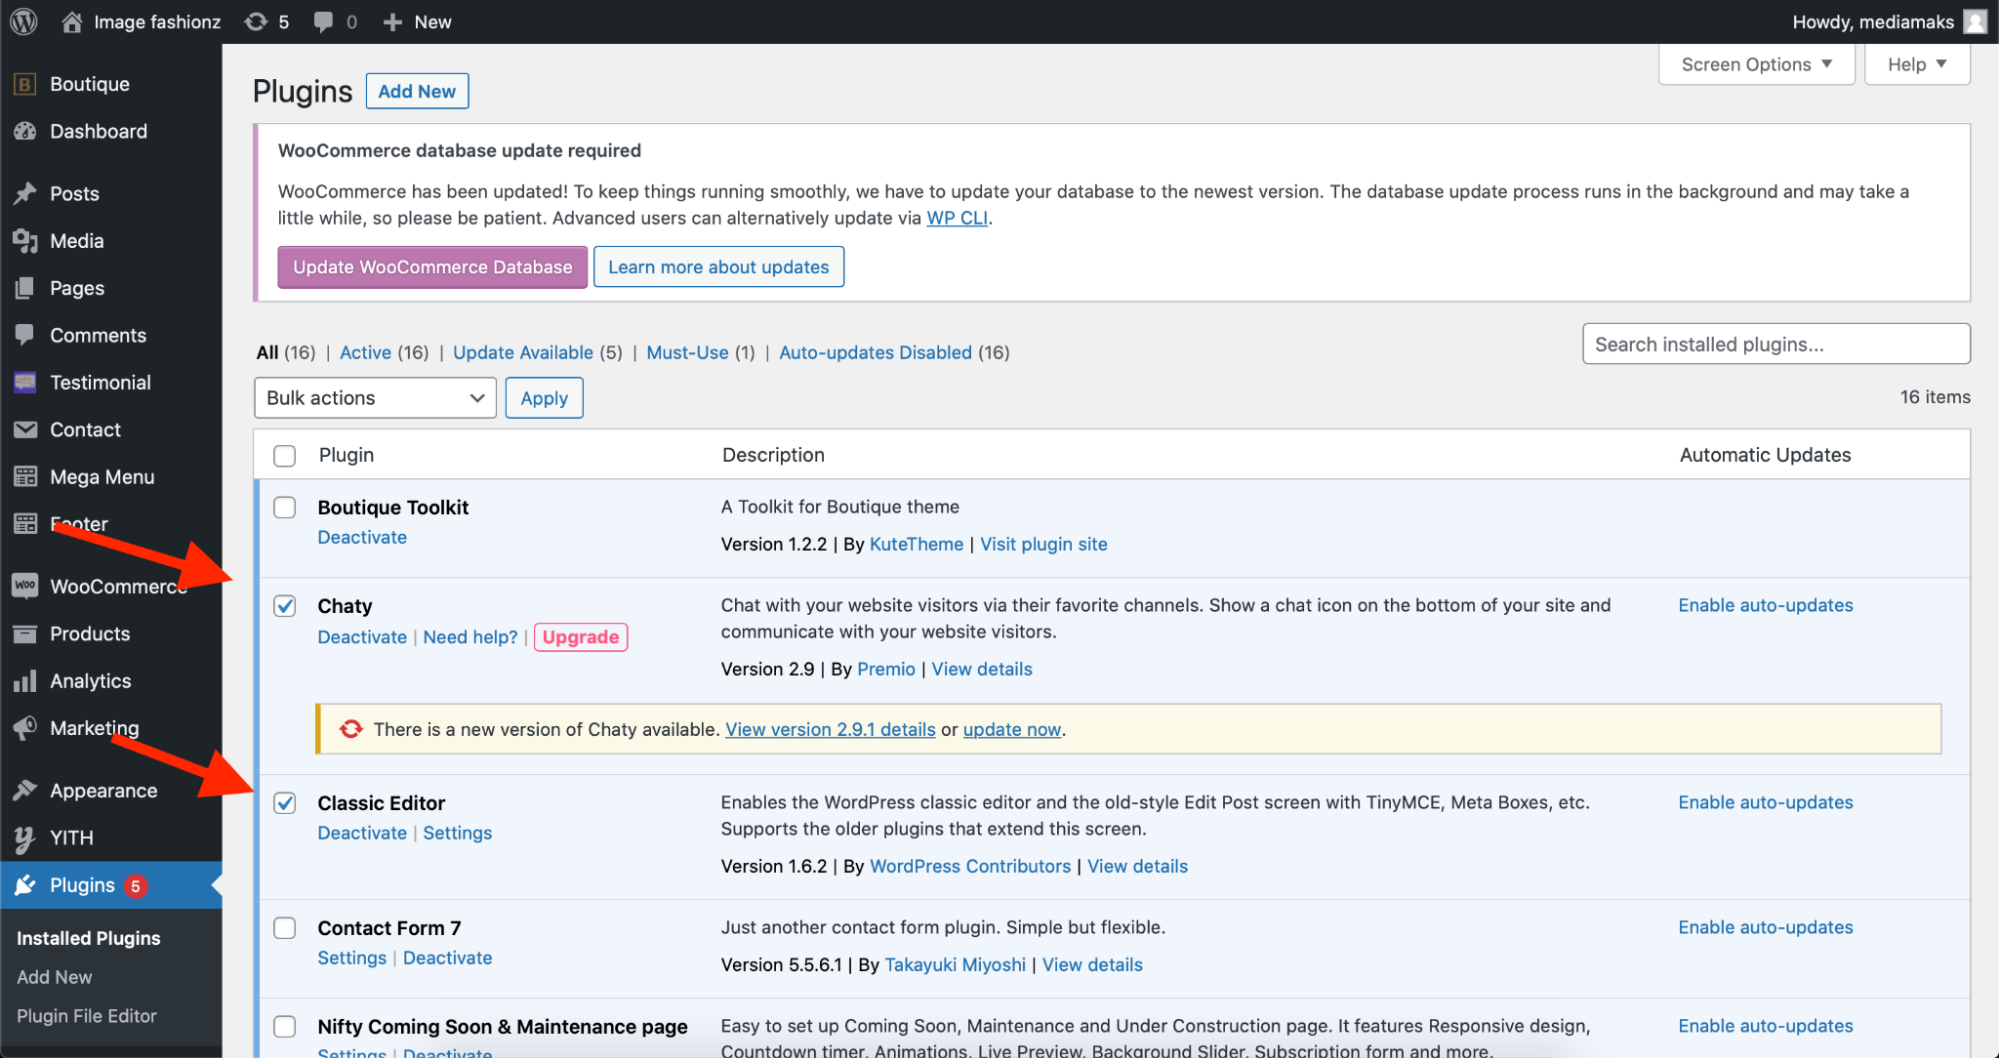
5. Select the plugins you want to activate/deactivate by clicking on each checkmark box next to the plugin. You can also use the box next to the word Plugin to select all plugins simultaneously.
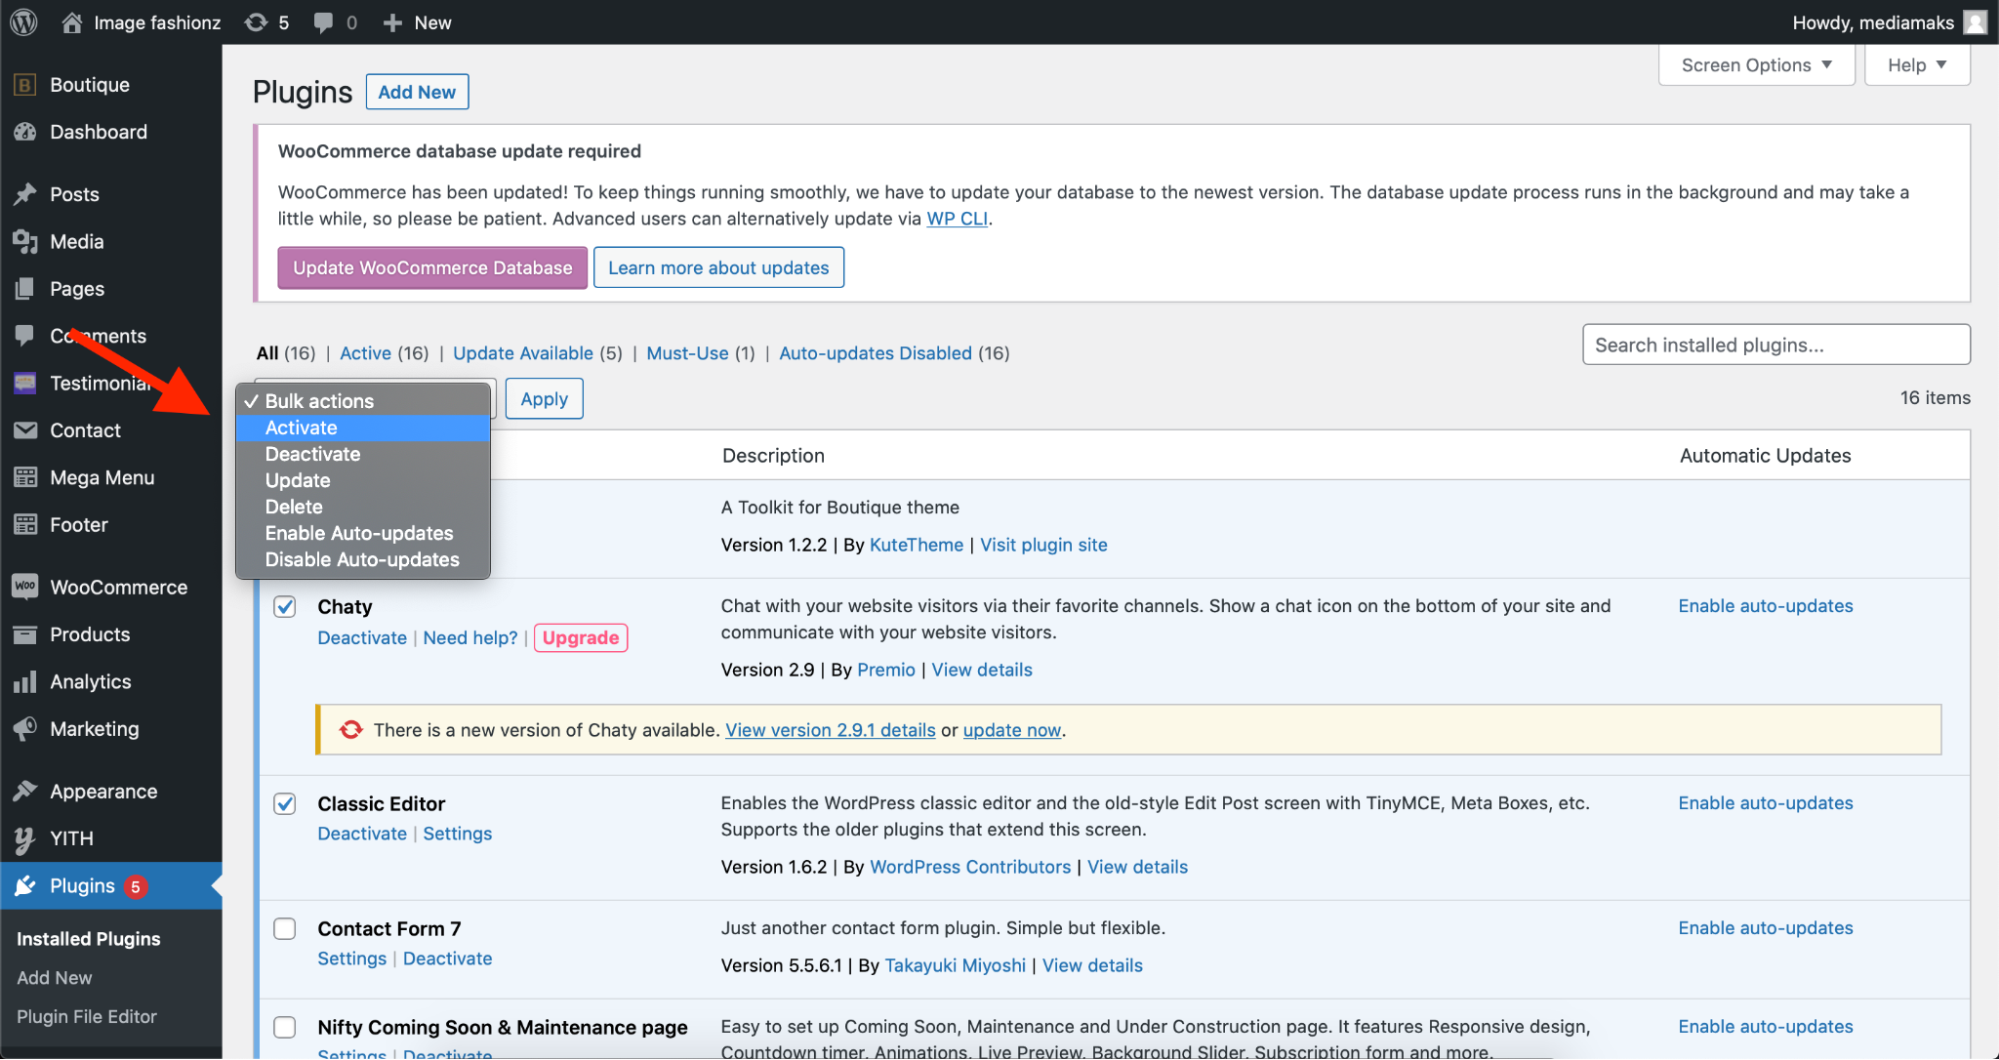
6. Click the Bulk Actions tab to reveal the drop-down menu.
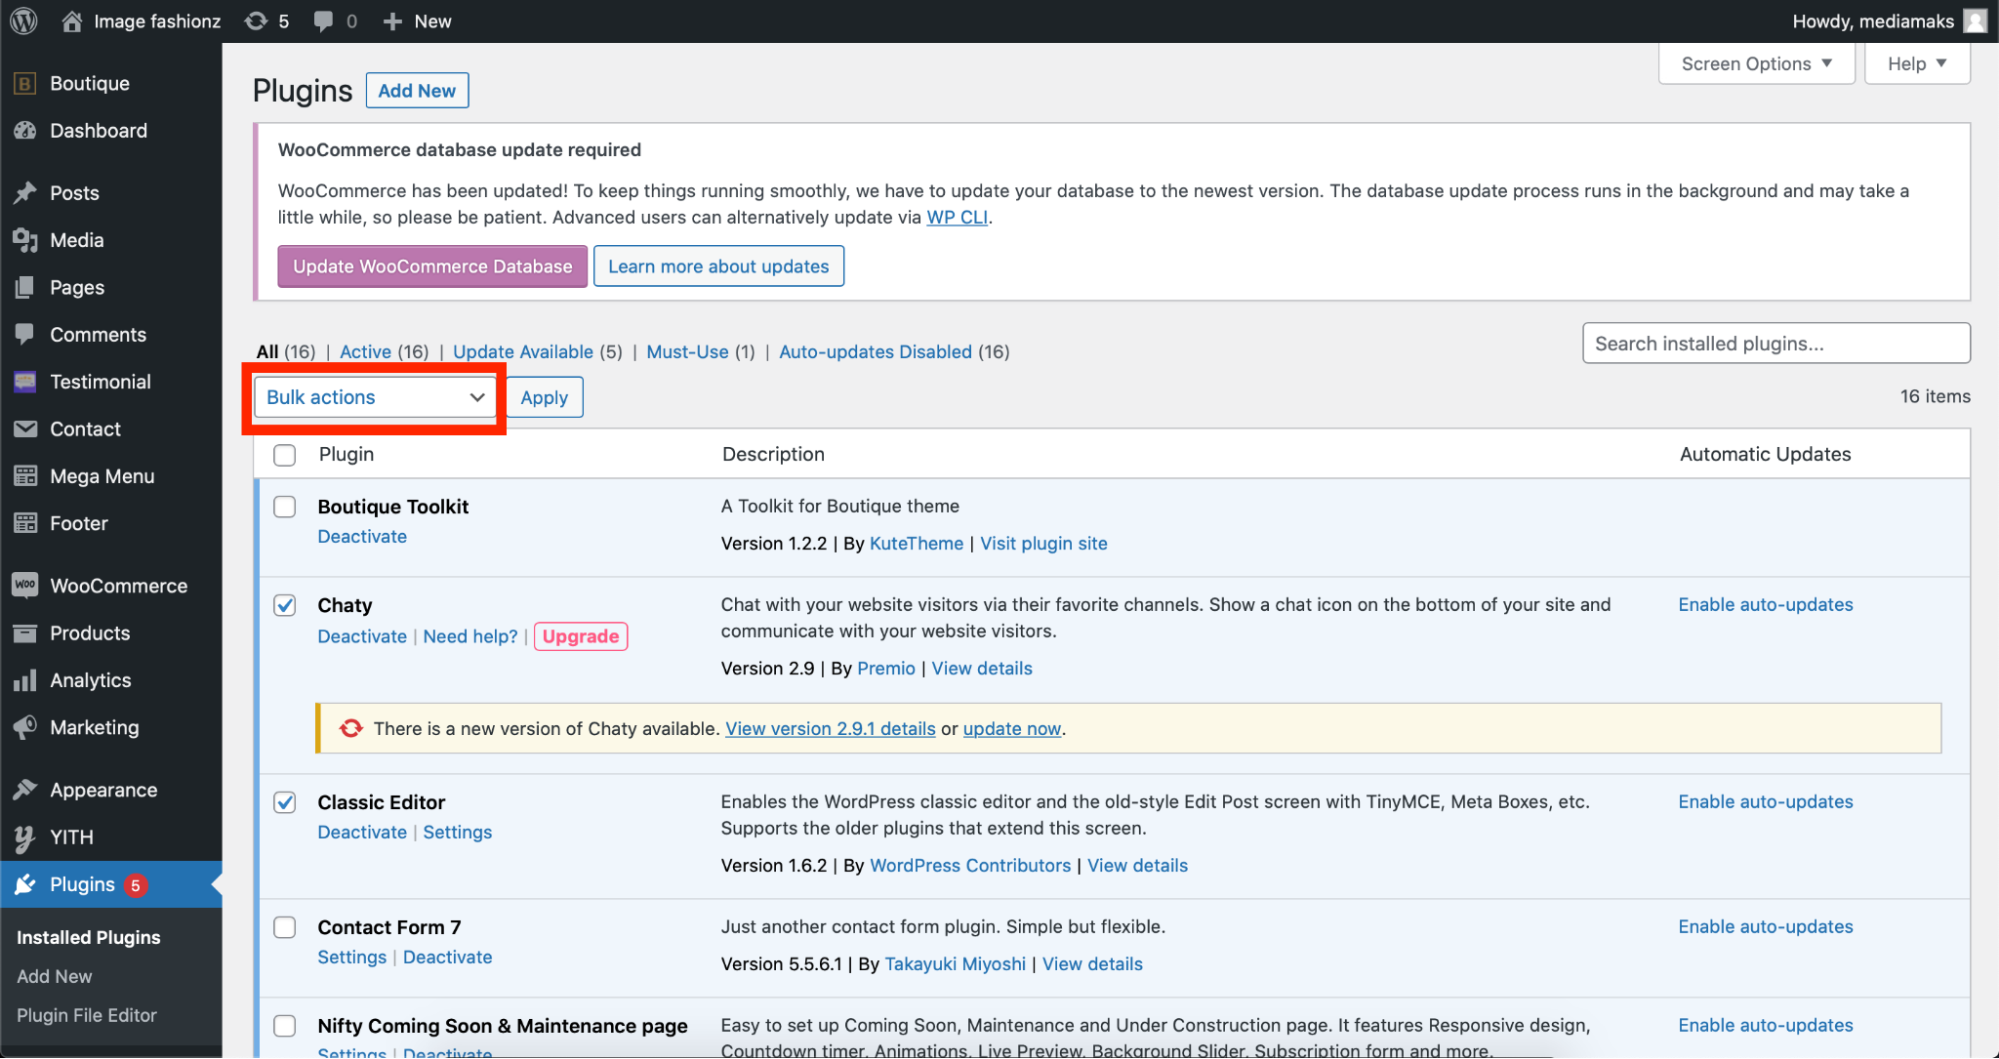
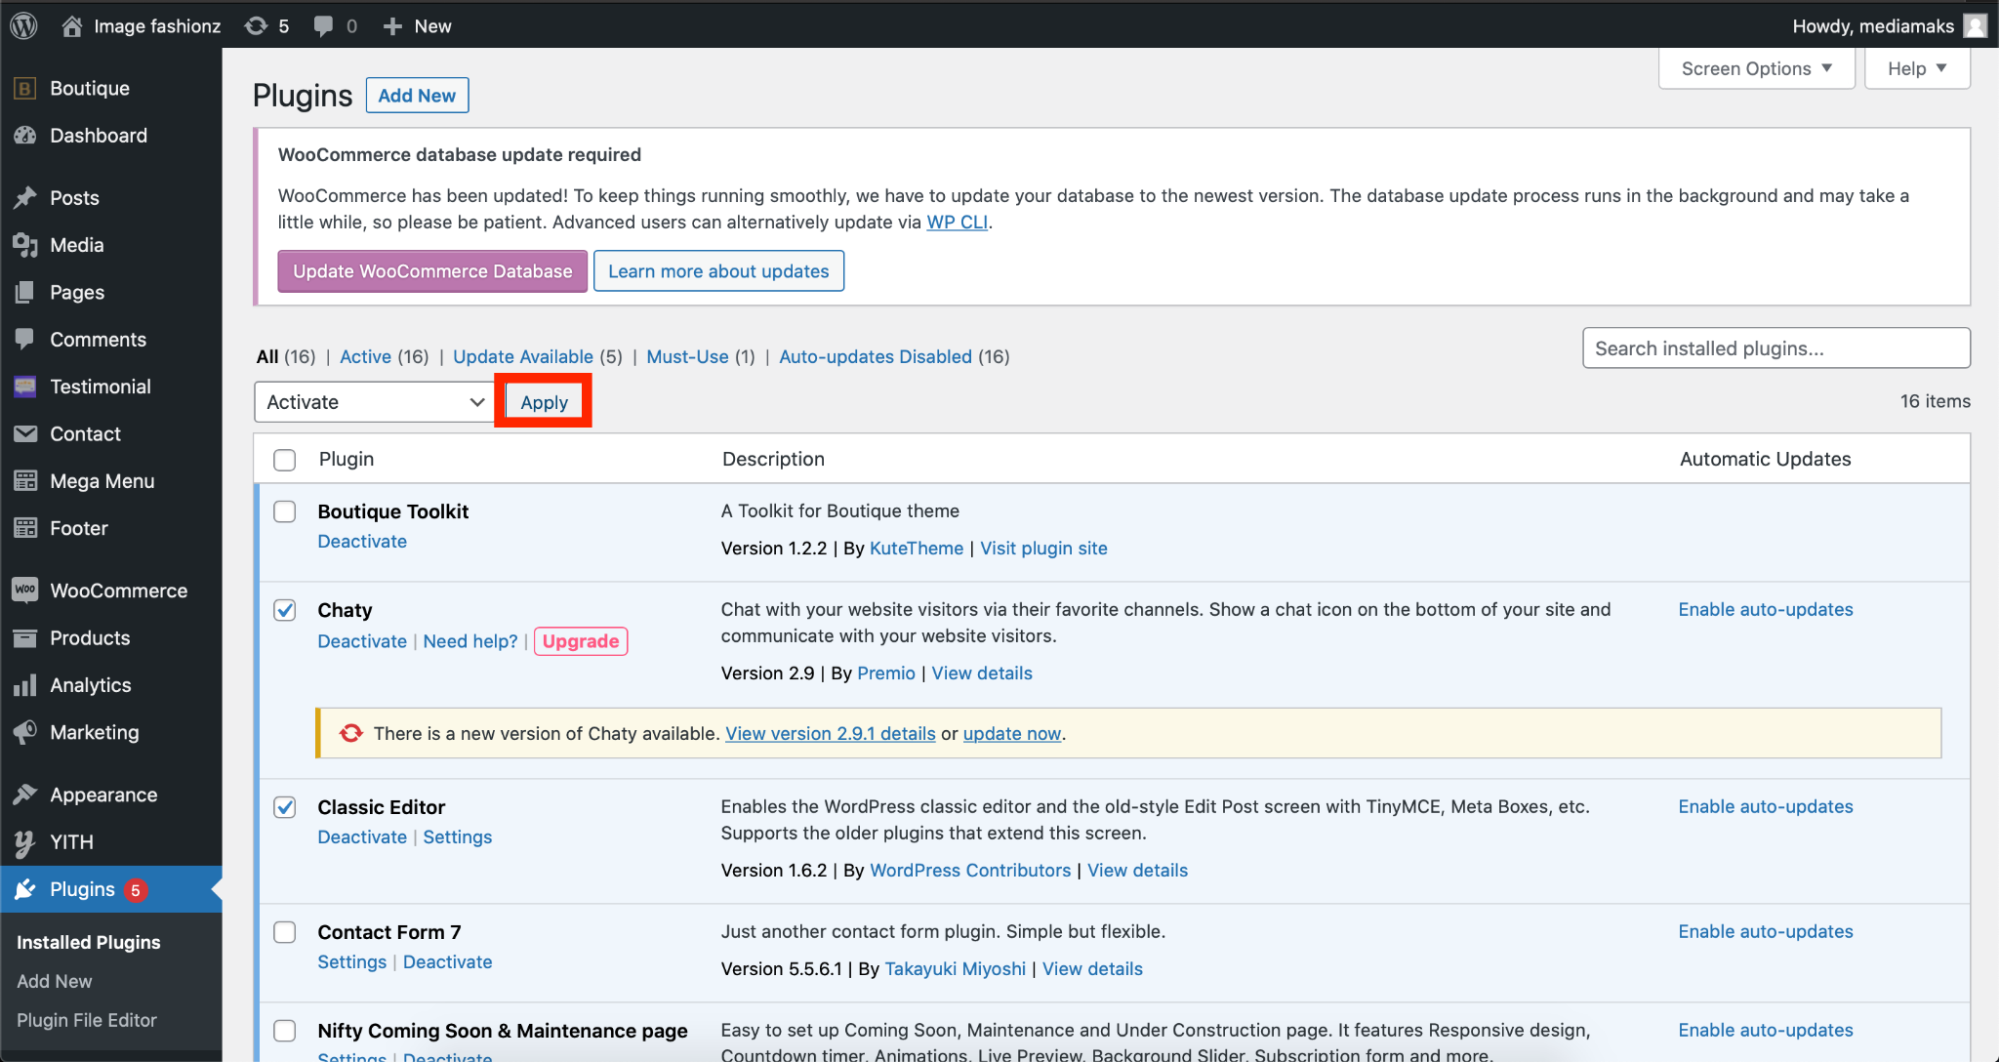
7. Now select activate/deactivate.
8. Click the Apply button to save the changes.
Plugins are one of the most important and powerful parts of a WordPress website. Take full control of your WordPress website by locating the best plugins for your site and enable/disable them as needed.