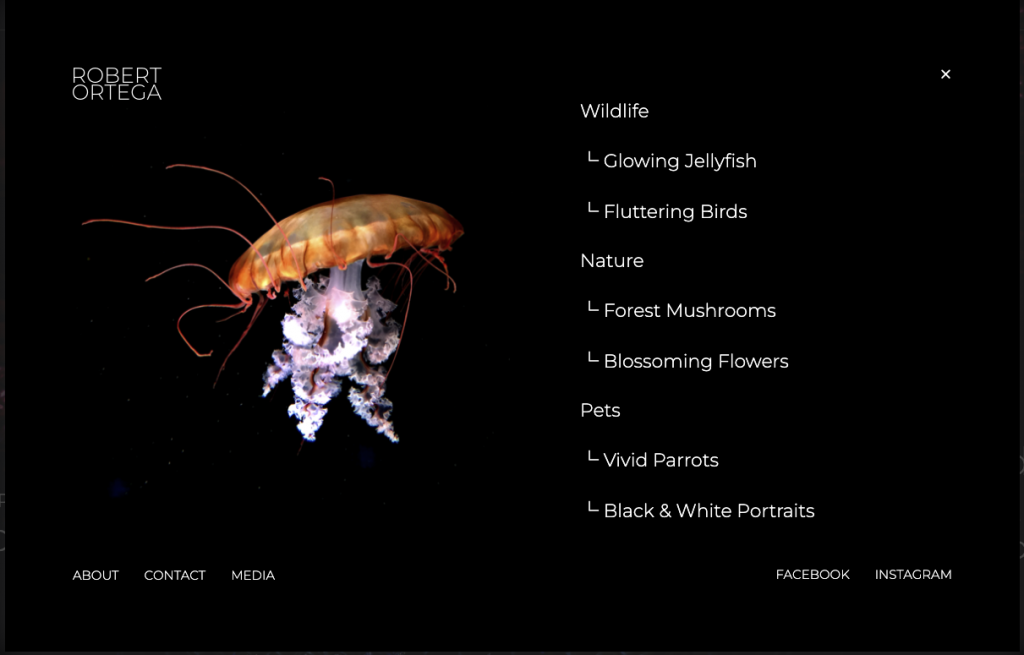
The Nature Photographer Kit features navigation that uses a popup and a vertical navigation menu. When kits are imported, they do not automatically create menus in WordPress. You must recreate this vertical menu in Appearance > Menus.
Getting Started
This child navigation effect is created by using the “└” symbol in the menu navigation label as shown below.
Wildlife
└ Glowing Jellyfish
└ Fluttering Birds
Creating The WordPress Menu
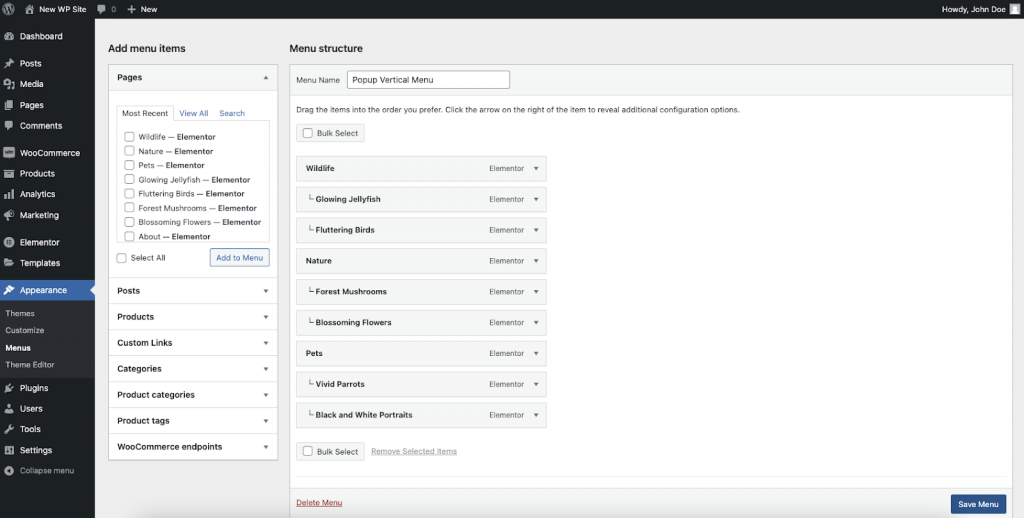
Create A New Menu
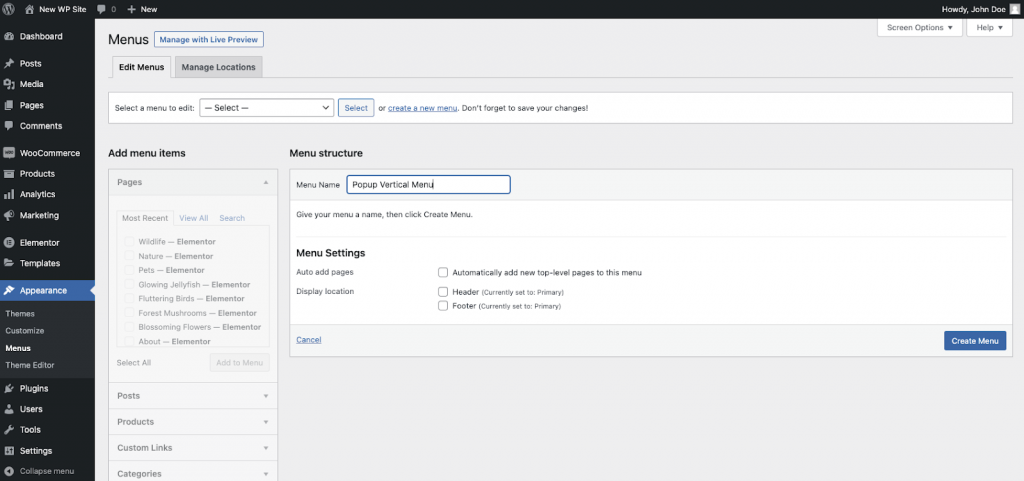
Create a new menu from Appearances > Menus. Give it a name (example: Popup Vertical Menu).
Add Menu Items
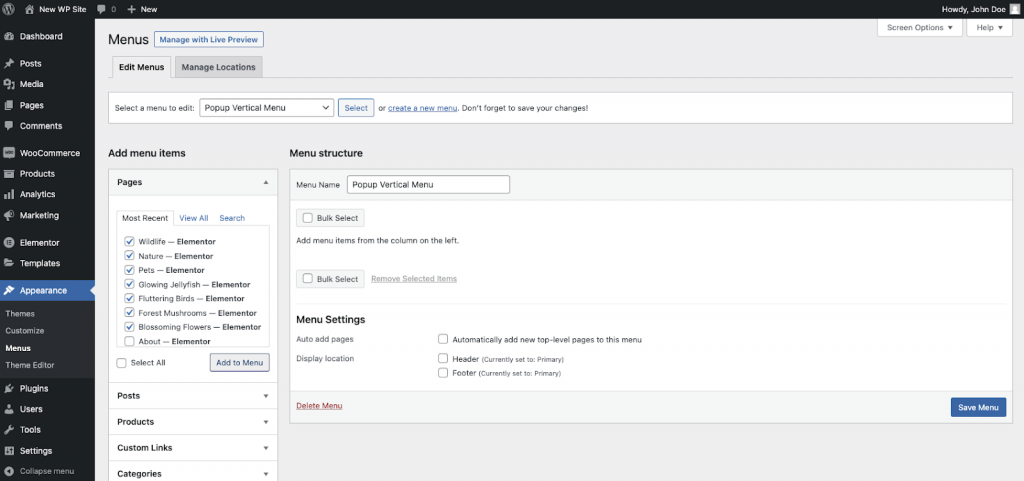
Select the pages that you want to include. For this tutorial we will use the ones that are imported in the kit but you may add your own later.
Arrange The Menu Items

Drag and drop the menu items in the order that you want to appear. For this menu we are going to leave all items as parent menu items with no child items.
Adding The Symbol To The Child Pages
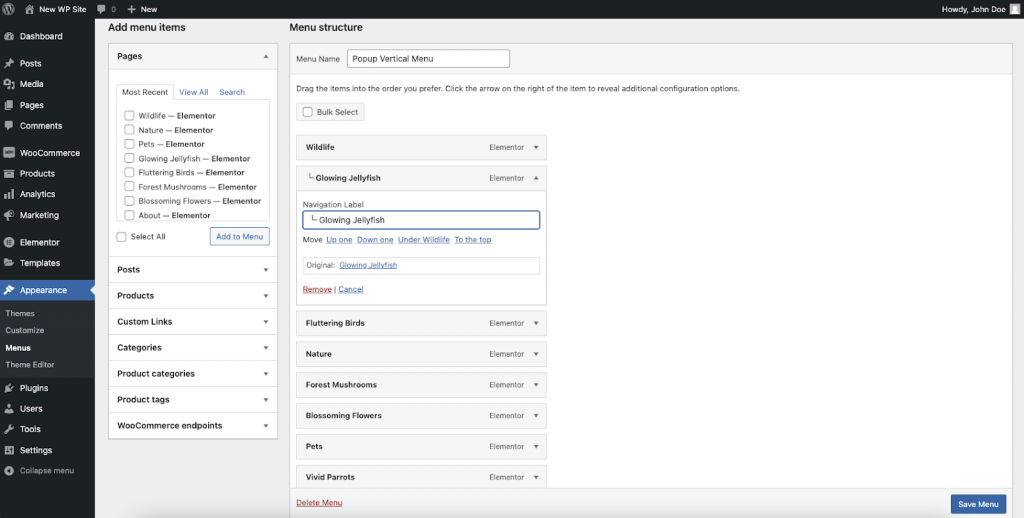
For each page in your menu that you wish to visually represent a child page, expand the menu items toggle options. Enter the “└ “ symbol before the page name. You may copy the symbol from above and paste it into the field.
Tip: This uses unicode Box Drawing Light Up and Right. HTML Entity: └ └ └
Save The Menu
You now need to save your menu by clicking the blue button in the lower corner of your screen.
Adding The Menu To Popup
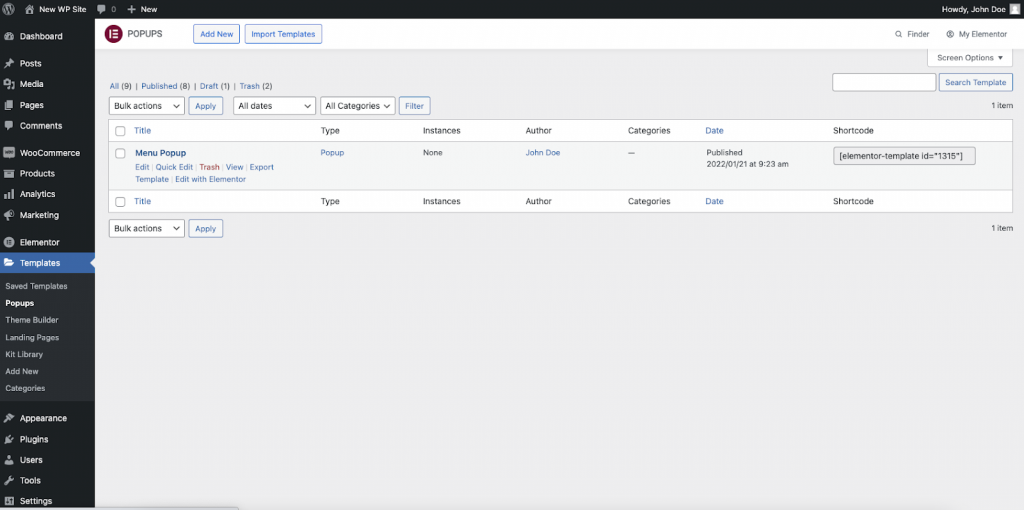
Navigate to the Popup template library located in Dashboard > Templates > Popups. Here you will see the imported kit menu popup. Click the Edit With Elementor link.
Assign The Menu To Widget
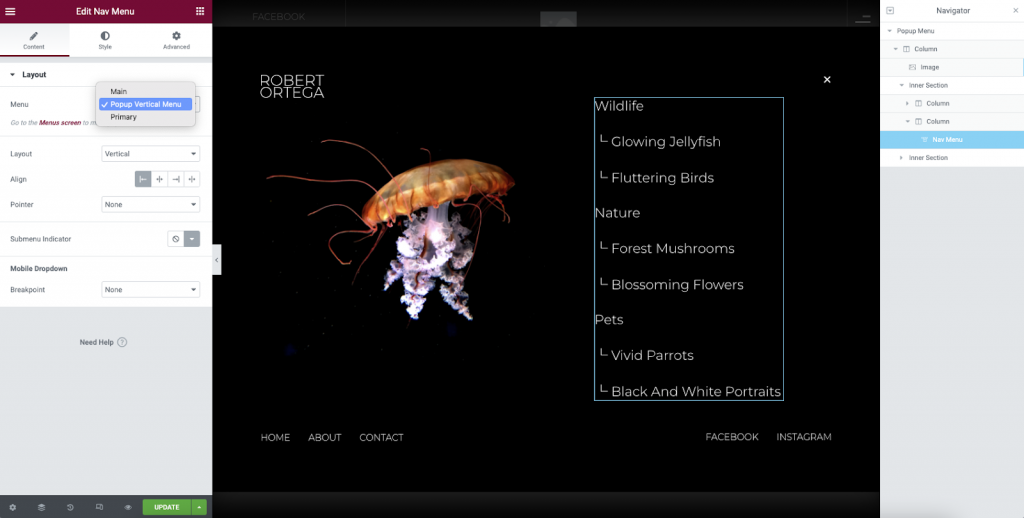
Edit the navigation menu widget located in the right column. Select your new menu in the dropdown. You will now see the child navigation effect that is in the Kit Template Library.
Note: This popup also uses another menu named “Main” for the bottom horizontal links. It will need to be created as well.
Publish The Popup Changes
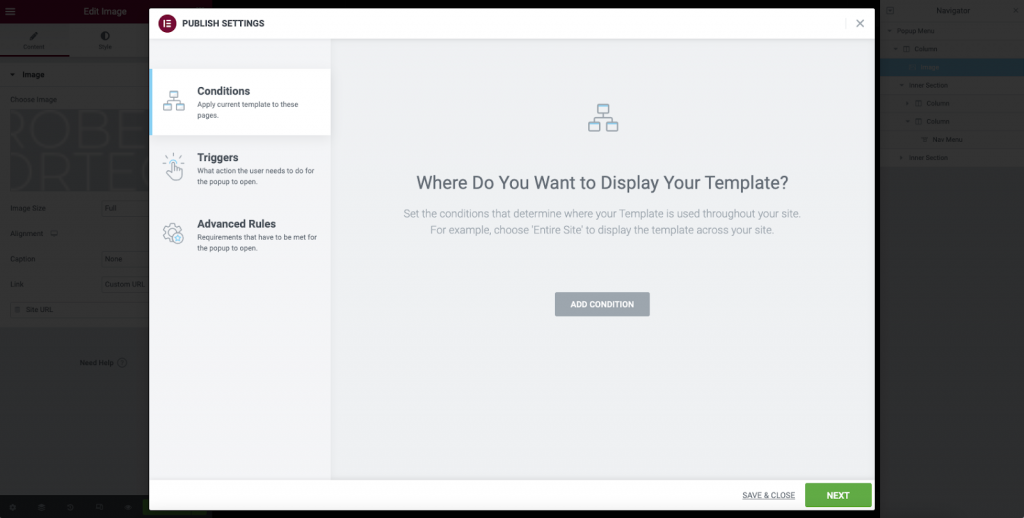
Click the publish button. The above screen will appear. For navigation popups, you will not need to set any conditions. Click the save and close button.
Editing The Header
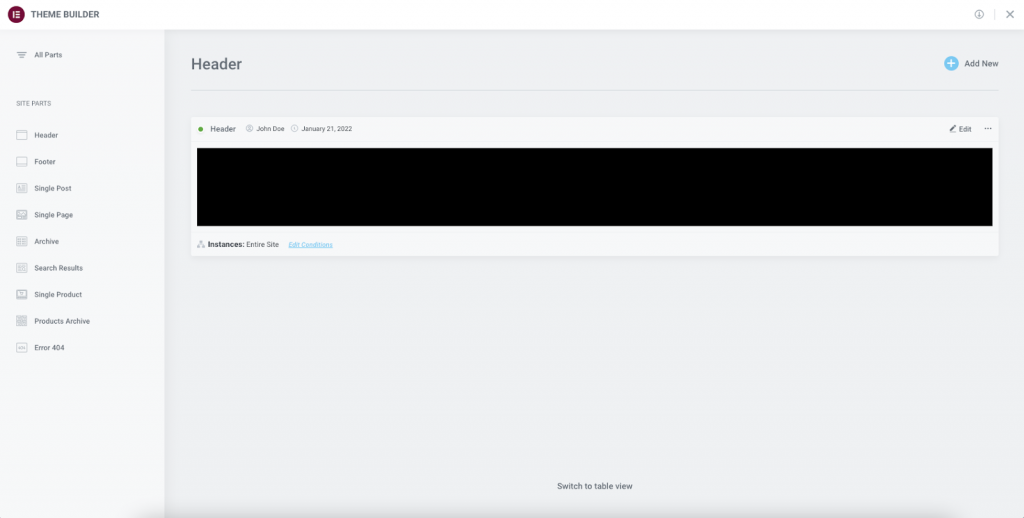
In Theme Builder, click on Header templates. Then click to edit the kit’s Header template.
Assign The Popup To Header Icon
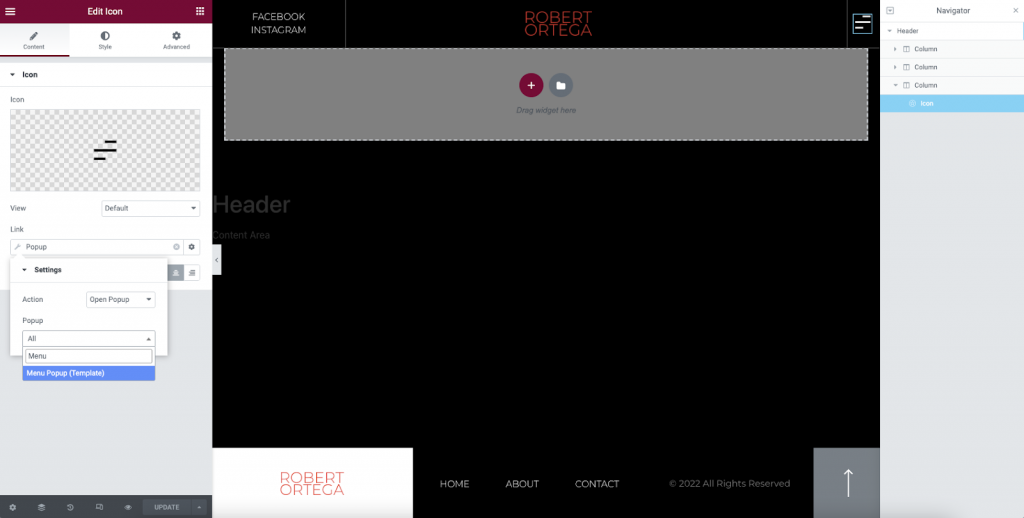
Edit the Icon Widget located at the top left of your screen. From the link options, choose the popup in the dynamic links. Enter the name of our popup into the settings by clicking the wrench icon. Type a few letters into the field and select our menu popup.
Publish Your Changes
You may now publish your changes and return to the dashboard.
Test Your Popup

Return to the homepage of your website and click the menu icon to test the popup. If you have completed all the above steps, you should now see the completed menu as seen in the demo. You may now remove the demo content and replace it with your own.
Additional Learning
CSS Subitems
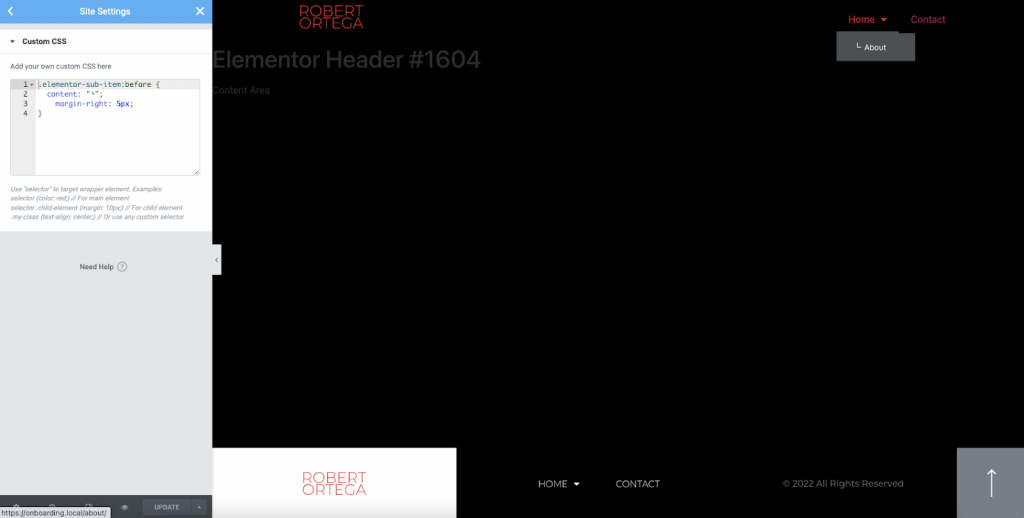
If you would like to automatically have that symbol on your child items in a horizontal navigational (traditional) menu. You may add the following CSS code to your preferred location.
.elementor-sub-item:before {
content: “└”;
margin-right: 5px;
}