The Tabs Widget allows you to divide your content into tabs, either horizontally or vertically
If you’re using containers, you’ll be working with the new Tabs widget, allowing you to work with nested elements.
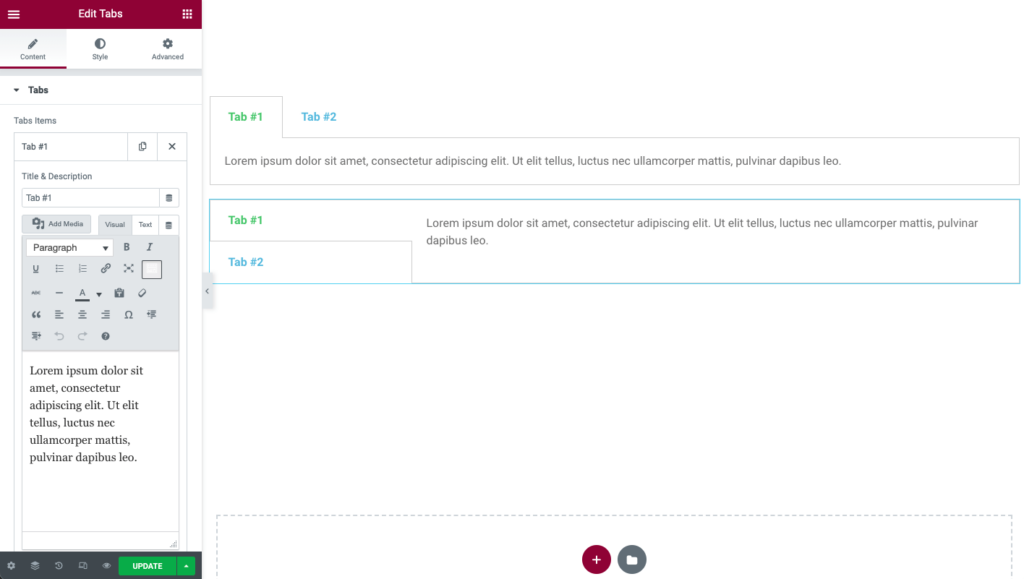
Content
- Tabs Items: Enter a title and content for each tab
- Add Item: Click on the Add Item button to add another tab
- Type: Choose Horizontal or Vertical tabs
- Position: Choose from Start, Center, End, or Justified
Tip: Items can be moved up or down in the list by simply using the drag and drop method.
Style
Tabs
- Border Width: Set the thickness of the border around the tabs
- Border Color: Choose a color for the border
- Background Color: Choose a background color for the tabs
Title
- Title Color: Choose the color for the title of the tabs
- Active Color: Choose the color for the title of the tab that is currently selected
- Typography: Set the typography options for the title
Content
- Color: Choose the color of the content
- Typography: Set the typography options for the content
Advanced
Set the Advanced options that are applicable to this widget
How to add a widget inside a Tabs widget
You can insert another element into a tab this way:
- Create the element that you want to insert inside a tab and save it as a Global Widget.
- Go to your Template Library and copy the shortcode of the relevant global widget.
- Within the Tabs widget, click on the Add Item button to create a new tab.
- In the text area of the tab, paste the shortcode you previously copied.
Note: Using Elementor template shortcodes within the widget may sometimes work, but it is not a supported feature.