When you visit a site’s blog and see a list of published articles, you’re actually viewing an Archive page. Archives have different terms that you can use to filter them, terms you’re familiar with: Author, Date, Category, Search results, Recent posts, Tags or any other taxonomy.
Before we begin with the Elementor steps, keep in mind that WordPress plays a significant role in the Blog archive page creation. You should first publish a blank page within the normal WordPress Add Page interface (call it Blog if you’d like), and then once you’ve published that blank page, go to Settings > Reading. Now choose the page you just published in the Posts Page dropdown as shown below.
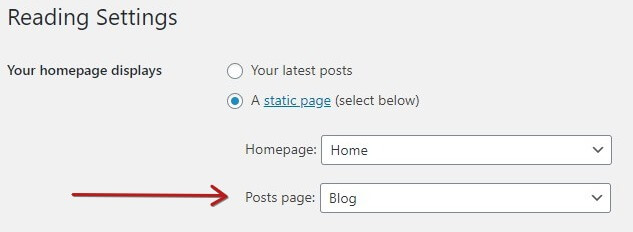
Tip: You can use the standard WordPress editor (either Classic or Gutenberg) to write your posts. You don’t have to use Elementor to write the actual content, although you can if you’d like, of course. But many people prefer to write posts the standard WordPress way, since they often don’t need the advanced layout features for a simple, straightforward blog post. No matter which way you decide to write the actual blog post content, the Elementor Archive Template will give you all the freedom you need to layout and design the Blog Archive page.
Now let’s move on with the steps to take with Elementor!
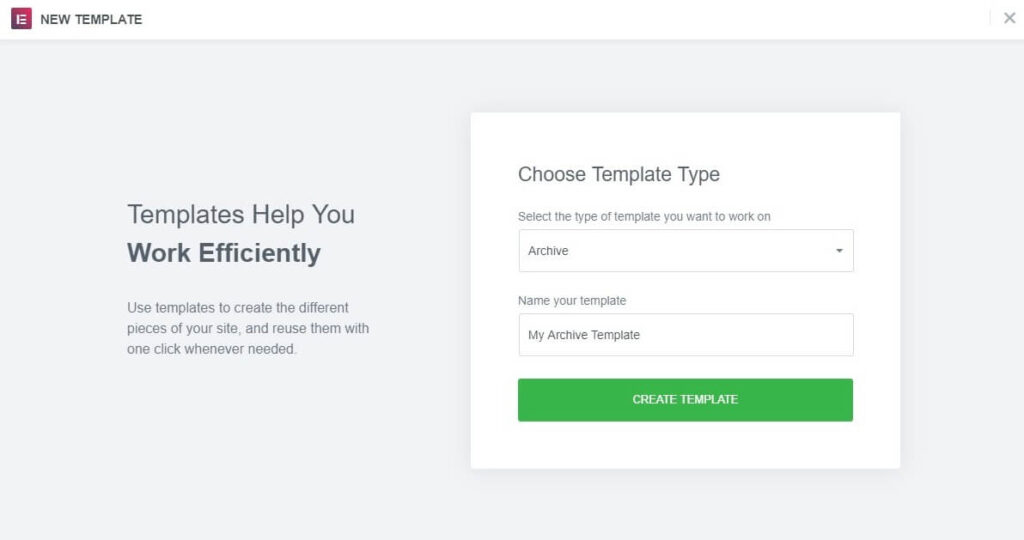
- Under Templates > Theme Builder > Archive > Add New, select Archive from the dropdown and click Create Template.
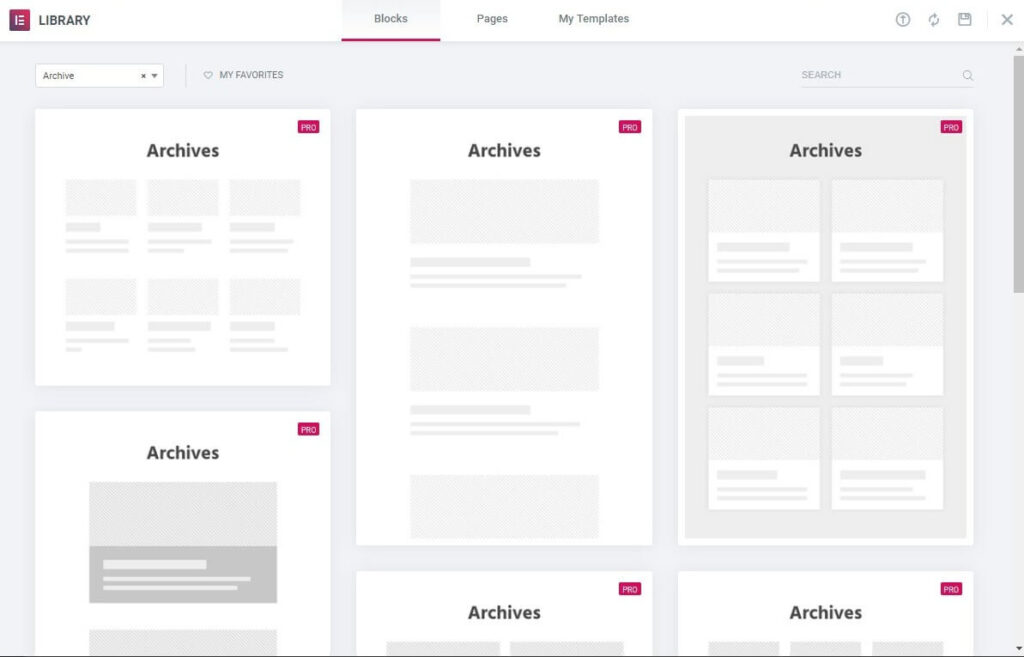
- Choose an Archive Block and Insert. Alternatively, you can design your own.
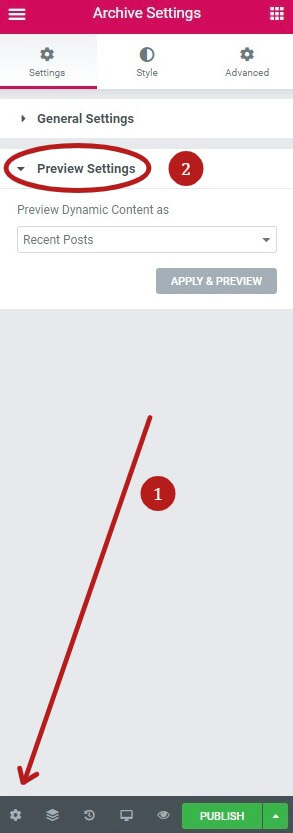
- Click the gear icon in the lower left corner of the widget panel to select a specific archive as the preview example while editing.
- Edit any elements as you’d like. After you’ve finished designing, click Publish.
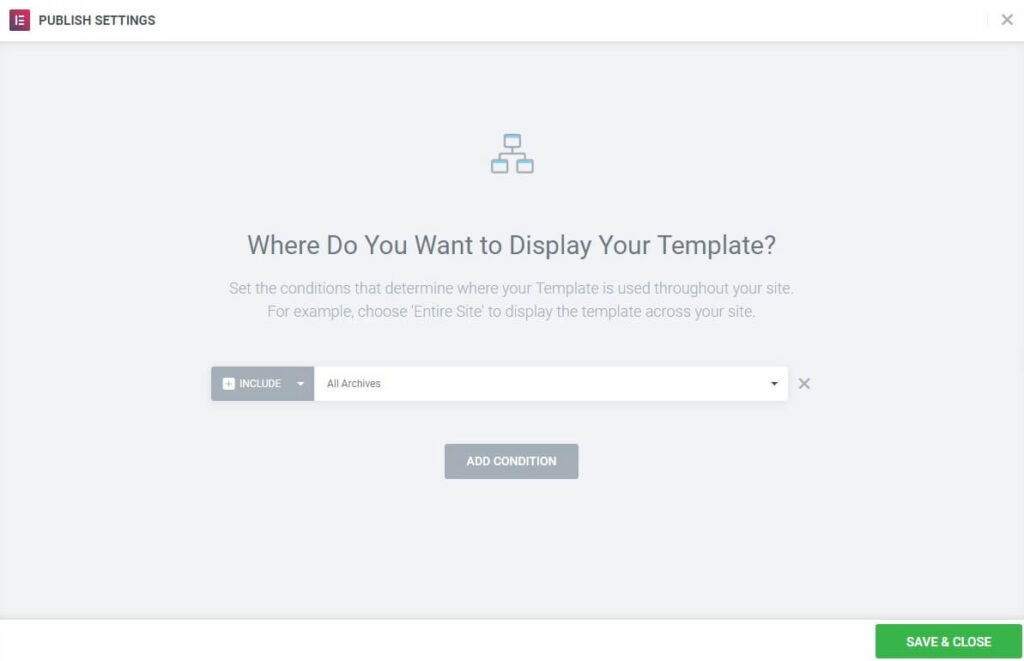
- Choose a Condition. Click to learn about conditions.
Templates > Add New

Choose Template Type (Archive)
Select from the Templates Library and Insert
Choose which archives to preview while editing
Edit any elements needed, then Publish and set Display Conditions
Tip: You can create dynamic archive templates by using ACF to add custom fields to your taxonomies such as your categories and tags, and then you can display those taxonomy custom fields on your archive pages. In this way, you can dynamically set the surrounding layout. For example, if you create a custom image field for each of your categories, then your archive template could display a unique banner image for each category.
Note: If you have created a custom post type using a plugin such as CPT UI, be sure to change ‘Has Archive’ from false to true so you can build an archive for this custom post type. If you’ve hand-coded the function yourself, be sure to set the parameter has_archive to true.
Note: Elementor’s Archive Templates remove theme sidebars by default. Theme developers can overcome this by using Elementor’s Theme Locations API within their themes.
