For Pro users, Elementor AI is not limited to writing text for your website, it can also be used to add custom CSS to both your page and individual elements on the page.
Pro users can also add custom code to their site.
Note: All users can use Elementor AI to add HTML to their pages using the HTML widget.
General guidelines to using Elementor AI for coding
- Remember to always save and backup your page before adding custom CSS, as the code may make unexpected changes to the page.
- When adding custom CSS to an individual element, the code should include the term “selector”, if it doesn’t the code may affect the entire page or other elements.
- When you regenerate code with Elementor AI without inserting it, the previous code will be overwritten. It may be useful to keep a copy of the previous code in a separate document.
- When you insert more than one snippet of code, be aware that one snippet may cancel out or conflict with another.
- We are constantly working on improving Elementor AI and its coding abilities, however the generated code may not come out exactly as you’d like. In some cases you may need to tweak this code.
- Elementor does not offer support for Custom CSS code. Users are responsible for checking and debugging code produced by Elementor AI.
Using Elementor AI to add custom code to an element
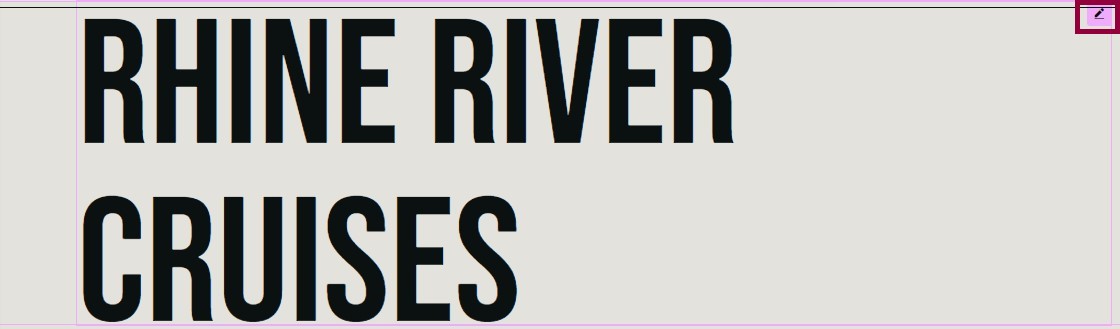
The following example will add CSS custom code to the heading of this home page:

- Select the Heading widget.
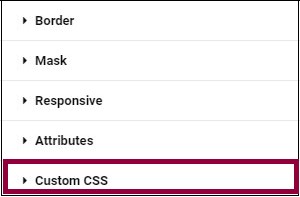
- Select Custom CSS from the Advanced tab of the Heading widget.
- Select Code with AI.

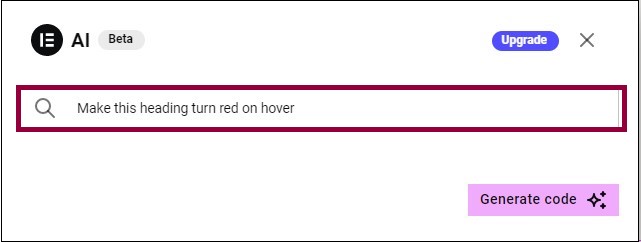
Note: After your first use of Elementor AI, the Code with AI text will be replaced with the Elementor AI icon. - Enter “Make this heading turn red on hover” into the text box.
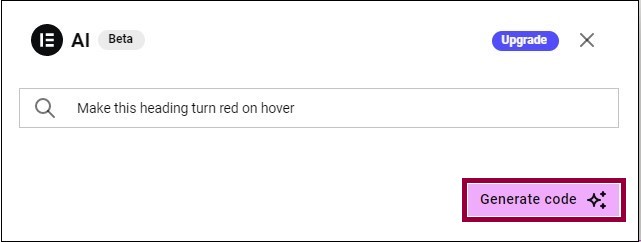
- Click Generate code.
This will add the following CSS Custom code: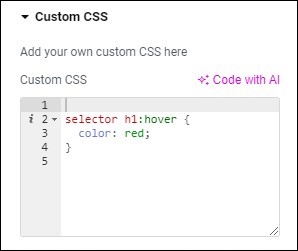
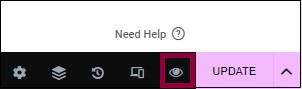
Click Preview to see how the custom CSS works.
Animating the Heading
Now let’s add some animation to the Heading.
- Go back to Custom CSS and select Code with AI.
- Enter “In this heading, have the text bounce on hover” in the text box.
- Click Generate code.
- Click Insert.
Go to the preview and see the results. When you hover over the text it should bounce and turn red.
Make an element sticky
Once common effect designers like to implement is to have elements of the page remain visible, even as visitors scroll through the page. This is referred to as making the element “sticky” and is commonly used on headers to keep the menu available to visitors wherever they are on a page.
This example will make the page’s header sticky.
- Select Edit Header.

- Select the container in the Header
- Select Custom CSS.
- Select Code with AI.
- Enter “Make this container sticky” in the text box.
- Click Generate code. The generated code will look like this:
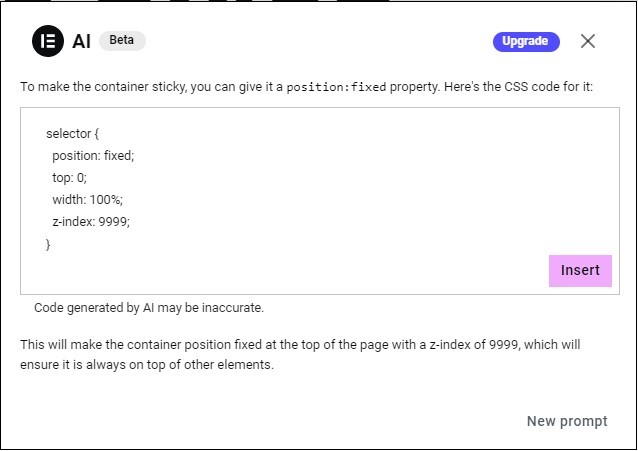
Elementor AI provides you with generated code and,in the area below the code box, it will explain, in plain English, what the code is doing. - Select Insert code.
Use preview to check out the results, as you scroll down the page, the header will remain at the top of your screen..
Next steps
Now that you’ve learned to add Custom CSS to elements and pages, learn how to add Custom Code to your entire site.