Introduction
- For a complete picture of how to use Loop Grids, check out our series of Loop Grid articles:
- What is the loop grid? (with video)
- How do I build a loop grid?
- How do I customize the layout of a loop?
- How do I paginate my loop?
- How do I customize which items appear in my loop?
- Building a query with the loop builder
Loop Grid allows you to build highly customized lists of posts, helping give your site a unique look.
Note: Loops are created with dynamic content – information drawn from the posts themselves. For example, you can use the Post Title widget to automatically pull out and display post titles. You can also use other widgets, choosing the relevant dynamic tag.
Note: If you’re using Elementor 3.8 or earlier, you must have both Flexbox containers and Loop set to Active in order to to build a loop.
Building a Loop Grid
Using the Loop Grid widget
There are two ways to build and edit a loop:
- Through the Theme Builder
- With the widget
In the section we’ll go over building a loop with the widget.
- Create a new page
- Drag the Loop Grid widget onto the canvas
- When you create a Loop Grid, you first need to Create a Template. (You can also build a loop from an existing template).
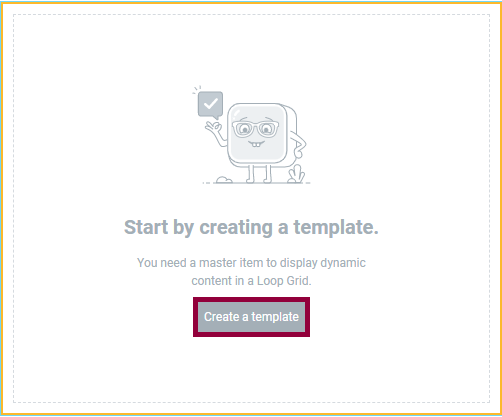
Start building your loop by creating a template. - Click Save.
- You are now building a template that will be duplicated to display a list of all posts in a uniform manner.
- Use containers and widgets to create the template. You can use widgets associated with posts, (Featured image widget, the Post Title widget, the Post Excerpt widget and the Post Info widget) or other widgets that have dynamic tags assigned to them. You can also use widgets for design purposes (e.g. adding an icon to your template).
- Style the elements in the loop to fit your design.
- Click Save and Back to go back to your page.
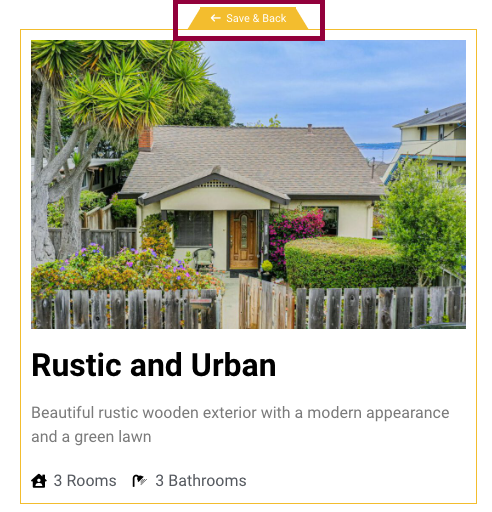
Click Save & Back to view the loop you built. - Your page will now be populated with an archive of all your posts, designed to your specifications.
- If you decide to change the design, select Edit Template from the top left entry and make your changes. Any change you make when editing the template will affect all archive items.
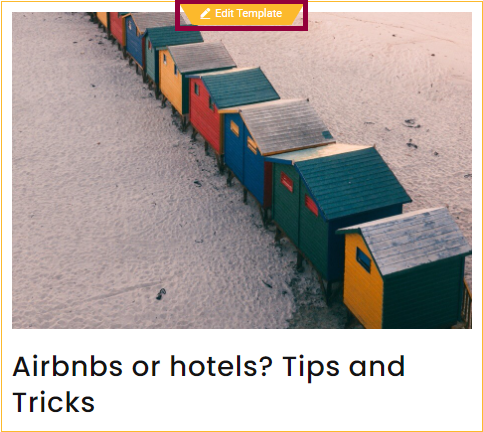
Click Edit Template to change your template’s design.
Note: When you’re editing a page with a loop grid, the first item in the loop will change color to indicate that you can edit the template by clicking the item.
Note: If you don’t set a pagination style, visitors will only see one page of items.
From a blank canvas using the Theme Builder
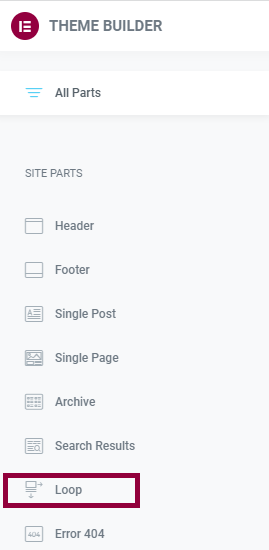
- Select Templates>Theme Builder from the WordPress dashboard
- Click Loop.
Select Loop to edit a loop. - Click Edit in order to edit an existing loop.
- Click Add New to create a new loop.
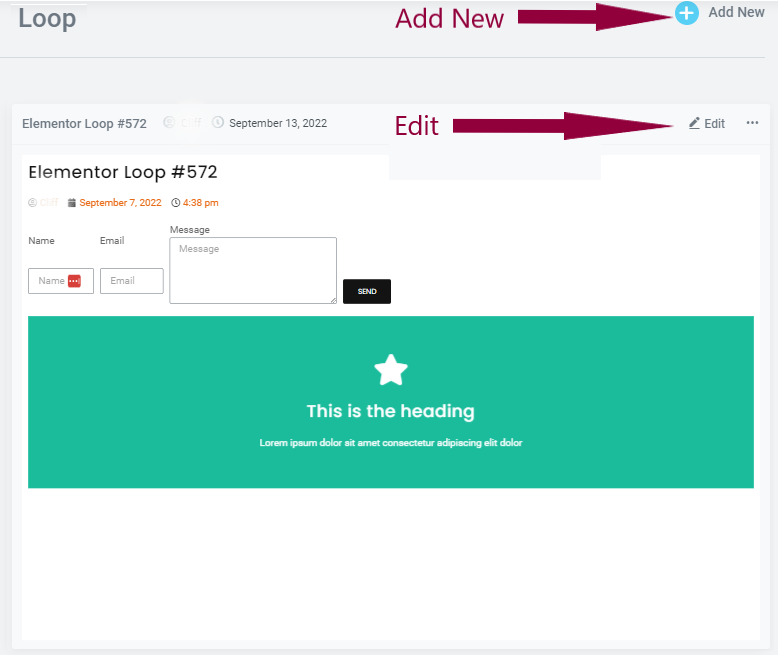
Click Edit to edit an existing loop or Add New to create a new loop. - Use containers, widgets and other elements to create the template. For the most part you’ll be using widgets associated with posts, (Featured image widget, the Post Title widget, the Post Excerpt widget and the Post Info widget) although you can use other widgets to design your loop (if you want to add icons, images, flip boxes etc.).
- Style the elements in the loop to fit your design.
Note: If you don’t set a pagination style, visitors will only see one page of items.
Next steps
Now that you know how to build a loop, learn how to customize your loop’s layout.
To get the most out of Elementor, check out the Elementor Academy for helpful learning resources. If you come across any issues or need help, please contact our Support Center.