Introduction
- For a complete picture of how to use Loop Grids, check out our series of Loop Grid articles:
- What is the loop grid? (with video)
- How do I build a loop grid?
- How do I customize the layout of a loop?
- How do I paginate my loop?
- How do I customize which items appear in my loop?
- Building a query with the loop builder
The layout of a loop will determine how many items appear on any single page of the loop. Assuming you have more items in your loop that will fit on a single page, you’ll need to define a pagination style. By default, loops do not have pagination which means that they will only display one page of items.
Determining Pagination styles
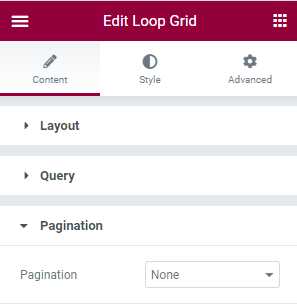
- Select the Loop Grid
- Go to the Content tab
- Open the Pagination menu.
- Choose your pagination style from the dropdown.
Pagination styles
Pagination styles can be divided into two types:
- Horizontal scrolling where items are displayed on the screen one page at a time as visitors flip from page to page (or click to access a particular page).
- Vertical scrolling where users scroll up and down to view the items either one page at a time or infinitely.
Following are the pagination styles available.
Book-type pagination styles
- None – The default, only one page of items will be displayed
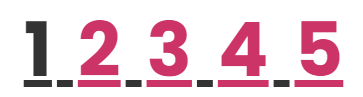
- Numbers – will display the numbers of all pages in the loop, allowing users to select which page to visit.
- You can use Page Limit to limit the number of pages accessible to visitors and reduce the number of pages listed with Shorten.
- Previous/Next – If you want to encourage users to page through your entries, you can use Previous and Next buttons so that they go through the entries one page at a time.
- You can customize the Previous and Next labels.

- Numbers + Previous/Next – allows visitors to jump to a specific page or to the previous or next page.
Scrolling Pagination
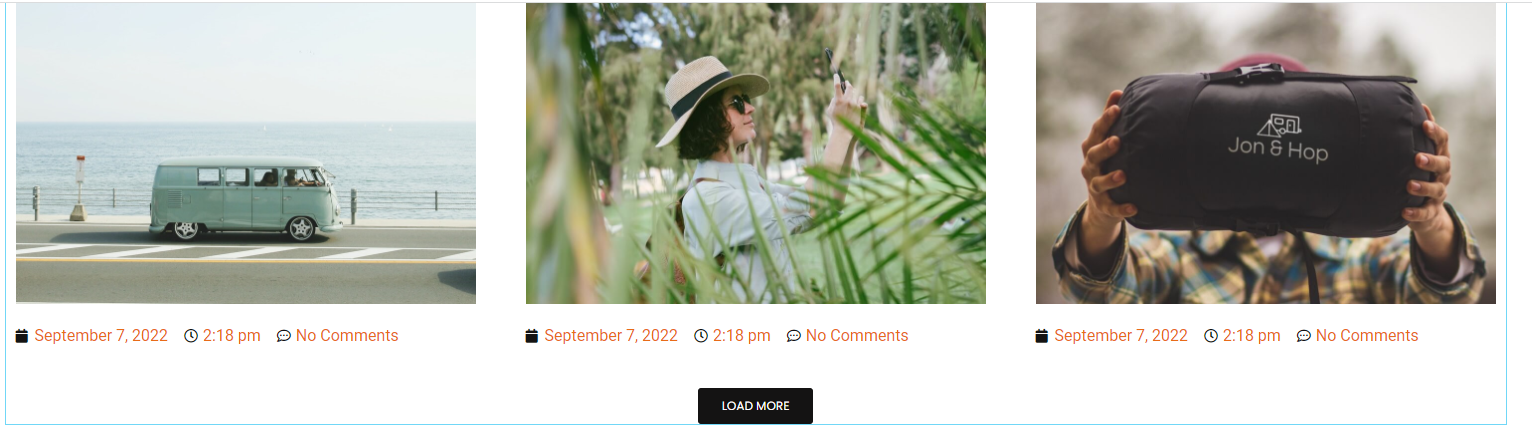
- Load on click – If you want users to view content one page at a time, but with vertical scrolling, you can use Load on click. This will show users one page of content with a customizable button at the bottom of the page to load more content. Clicking this button will insert the next page, while leaving the previous page visible.
- You can change the text and alignment of the button. You can also add an icon to the button and customize the icon’s spacing. Button ID will allow you to save this button for reuse.
- You can set up a custom message for visitors when they reach the end of your list using No More Posts Message.
- Infinite Scroll – For a more seamless experience, Infinite Scroll allows visitors to continuously scroll down to view new items on the list. However, users scrolling will often be interrupted as new items need time to load. A customizable icon is displayed while new items are loading.
- You can adjust the spinner icon and set up a custom message for visitors when they reach the end of your list using No More Posts Message.
Next Steps
Now that you know how to customize a loop’s layout and pagination, learn how to customize how many and which items will appear in your loop.
To get the most out of Elementor, check out the Elementor Academy for helpful learning resources. If you come across any issues or need help, please contact our Support Center.